

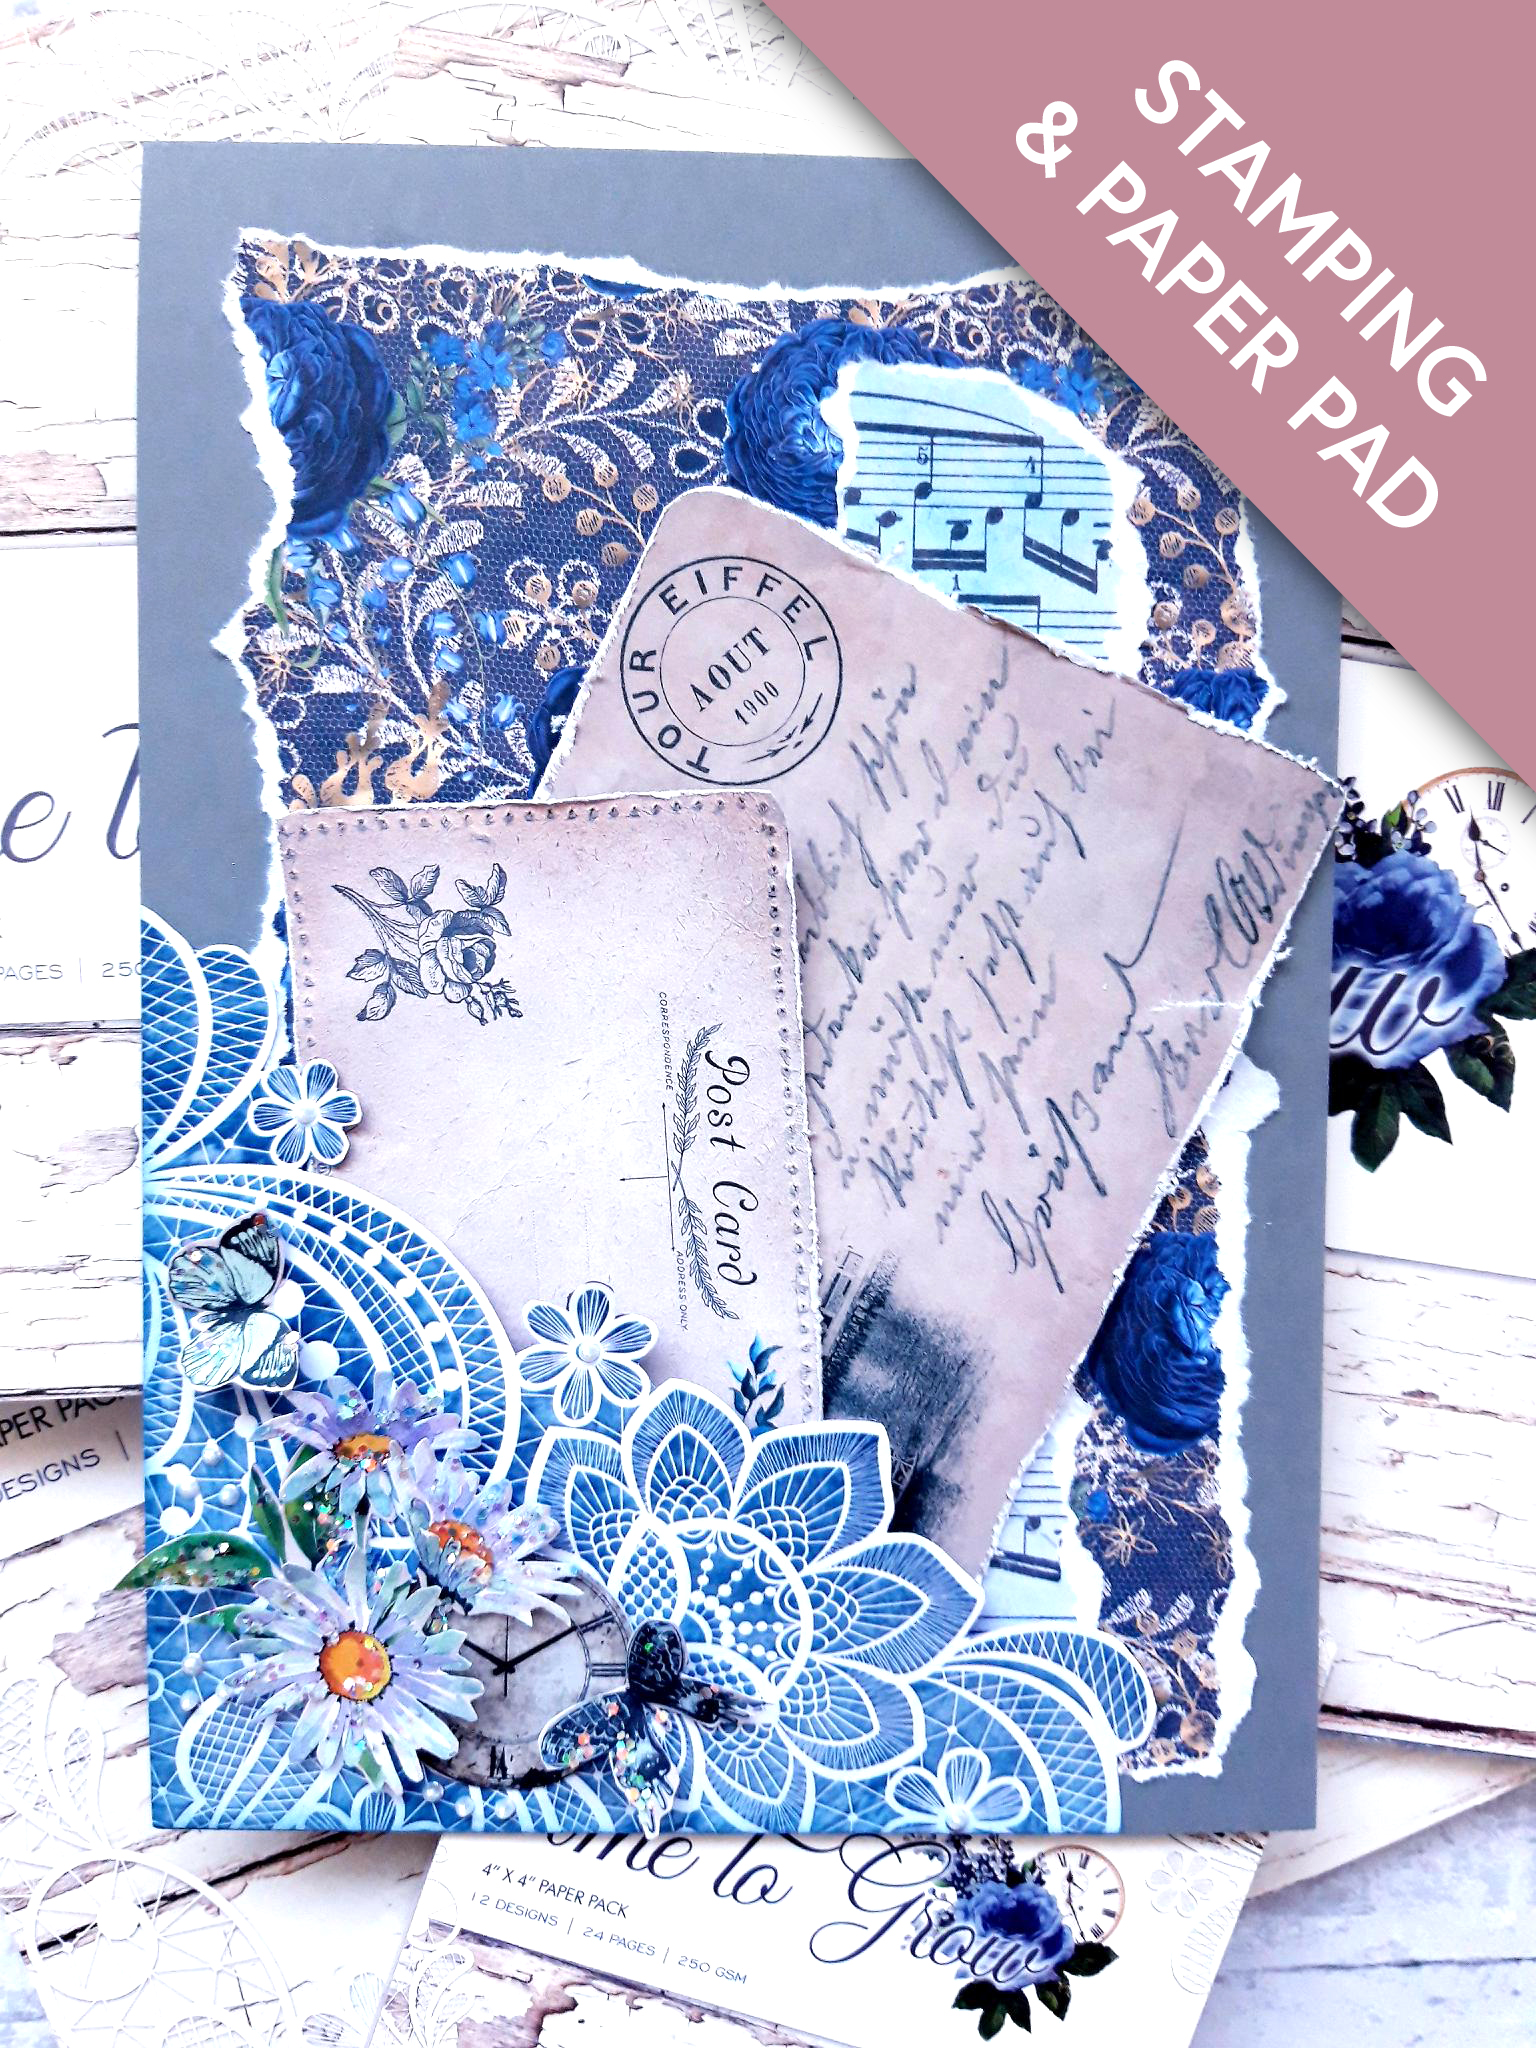
WHAT YOU WILL NEED:
Grey top folding card blank (8 1/4 x 5 3/4")
Time To Grow 8 x 8" Paper Pack
Time To Grow A4 Paper Pack
Time To Grow 6 x 6" Paper Pack
Time To Grow 4 x 4" Paper Pack
Circle die approx 2 1/2" in diameter
Izink Dye Ink Pad: Nuit
Blender brush/tool
Midas Glitter: Viennese Waltz
Liquid Pearl Drops: White Opal
Eureka 101
Perfect Together Glue
Red liner tape
[click image to enlarge] 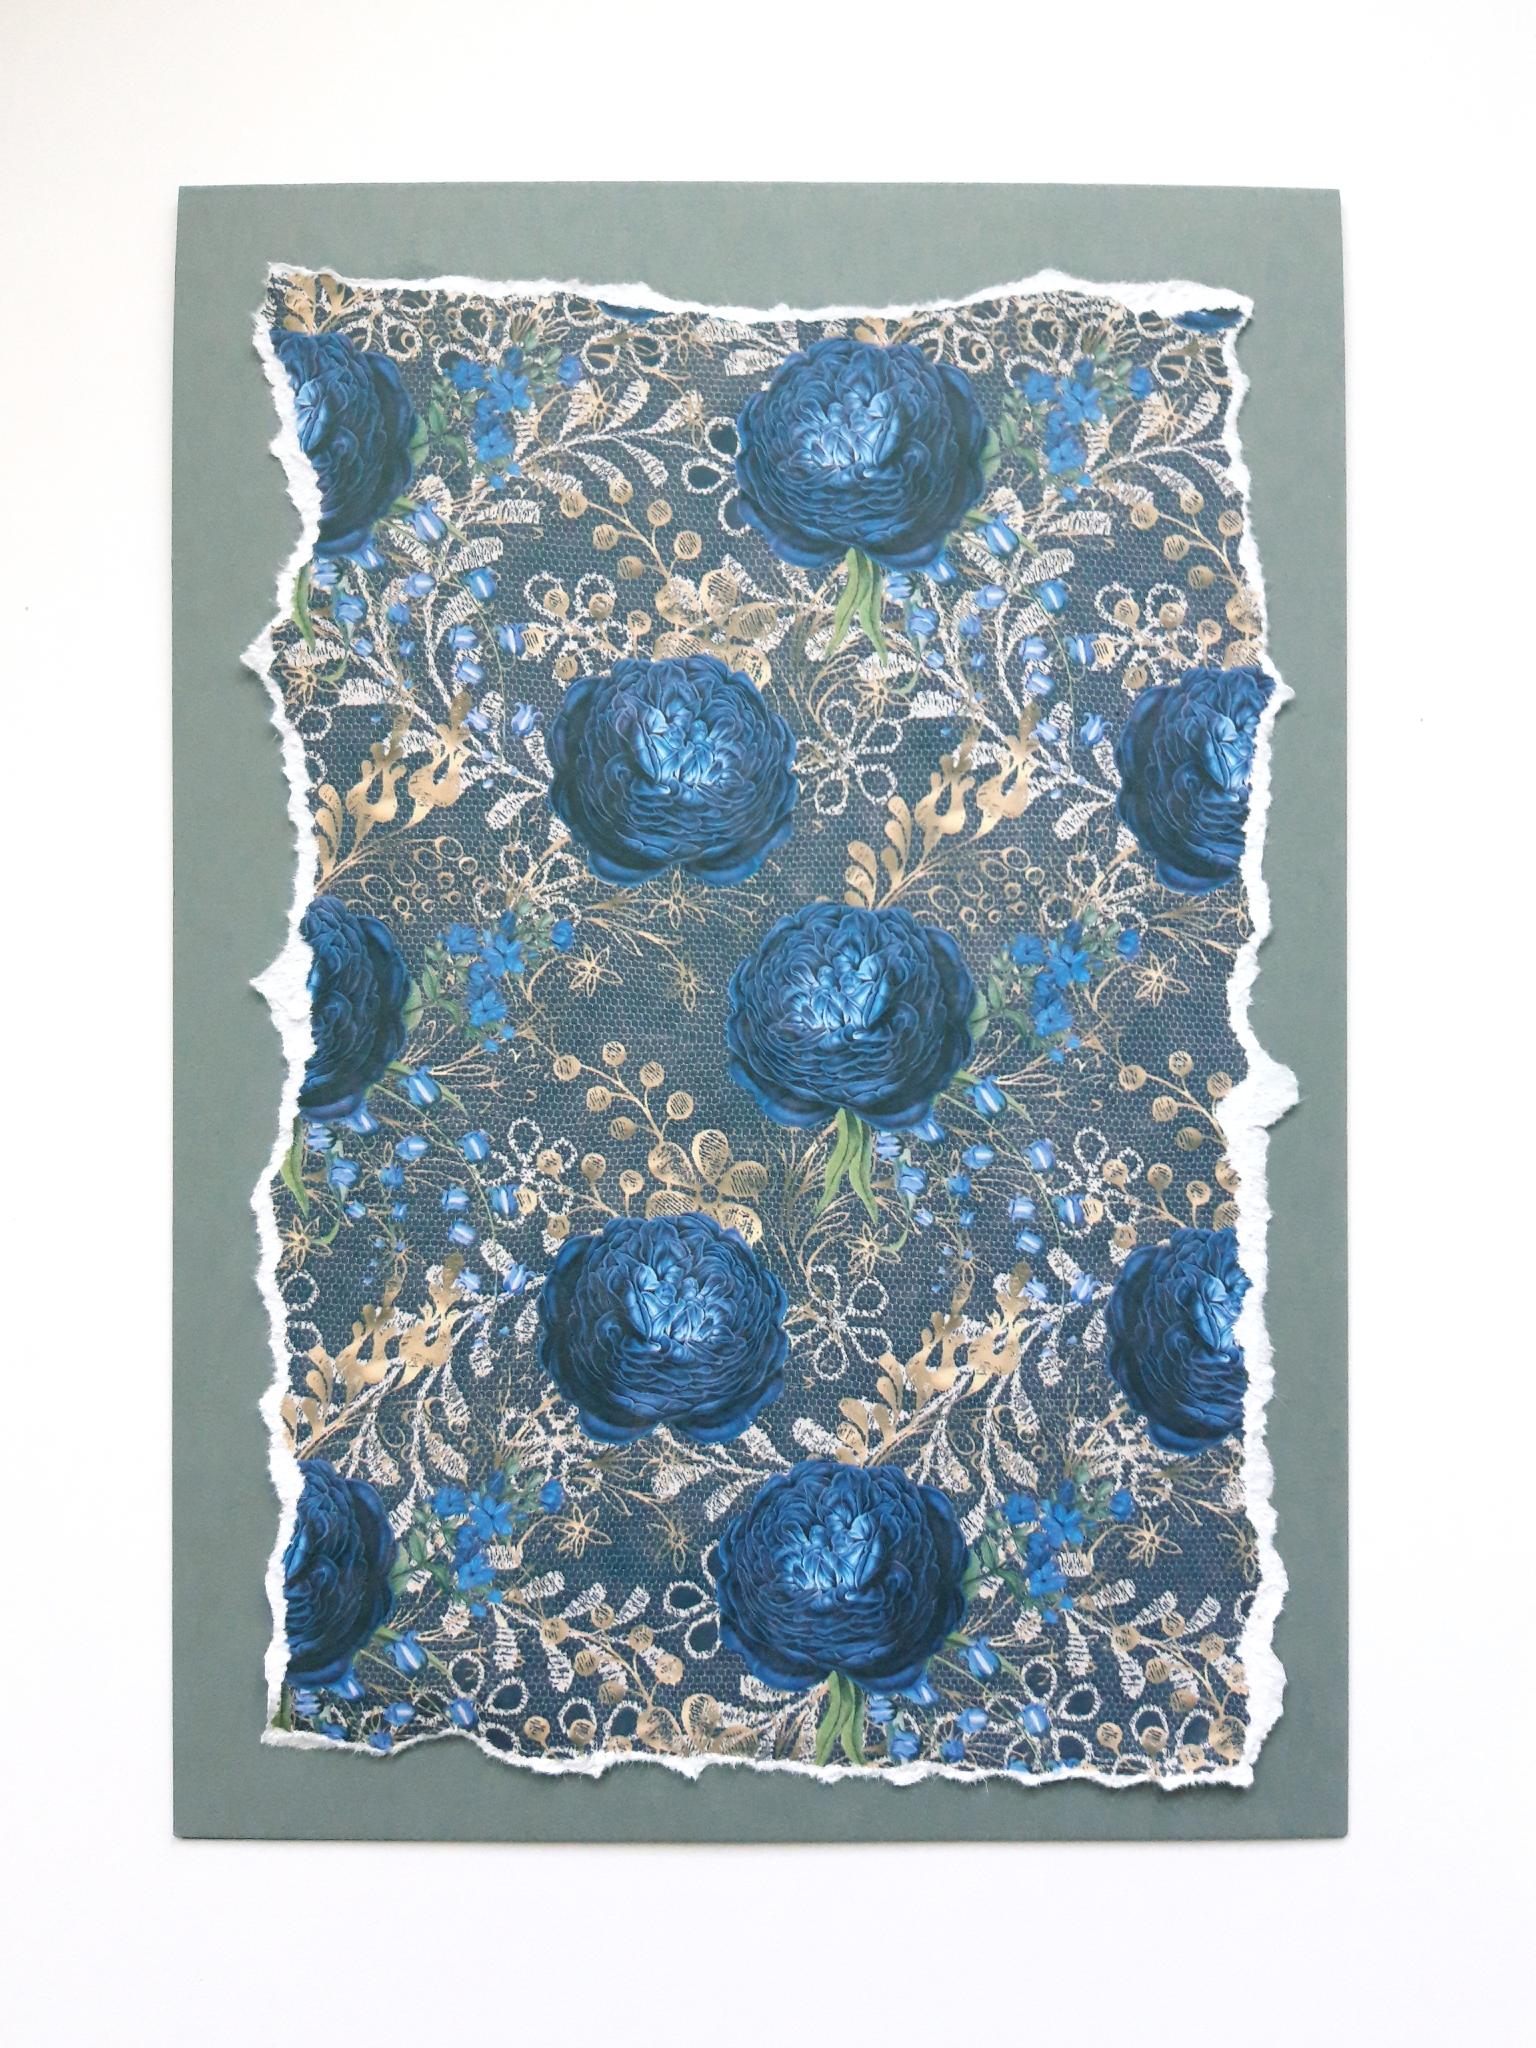
|
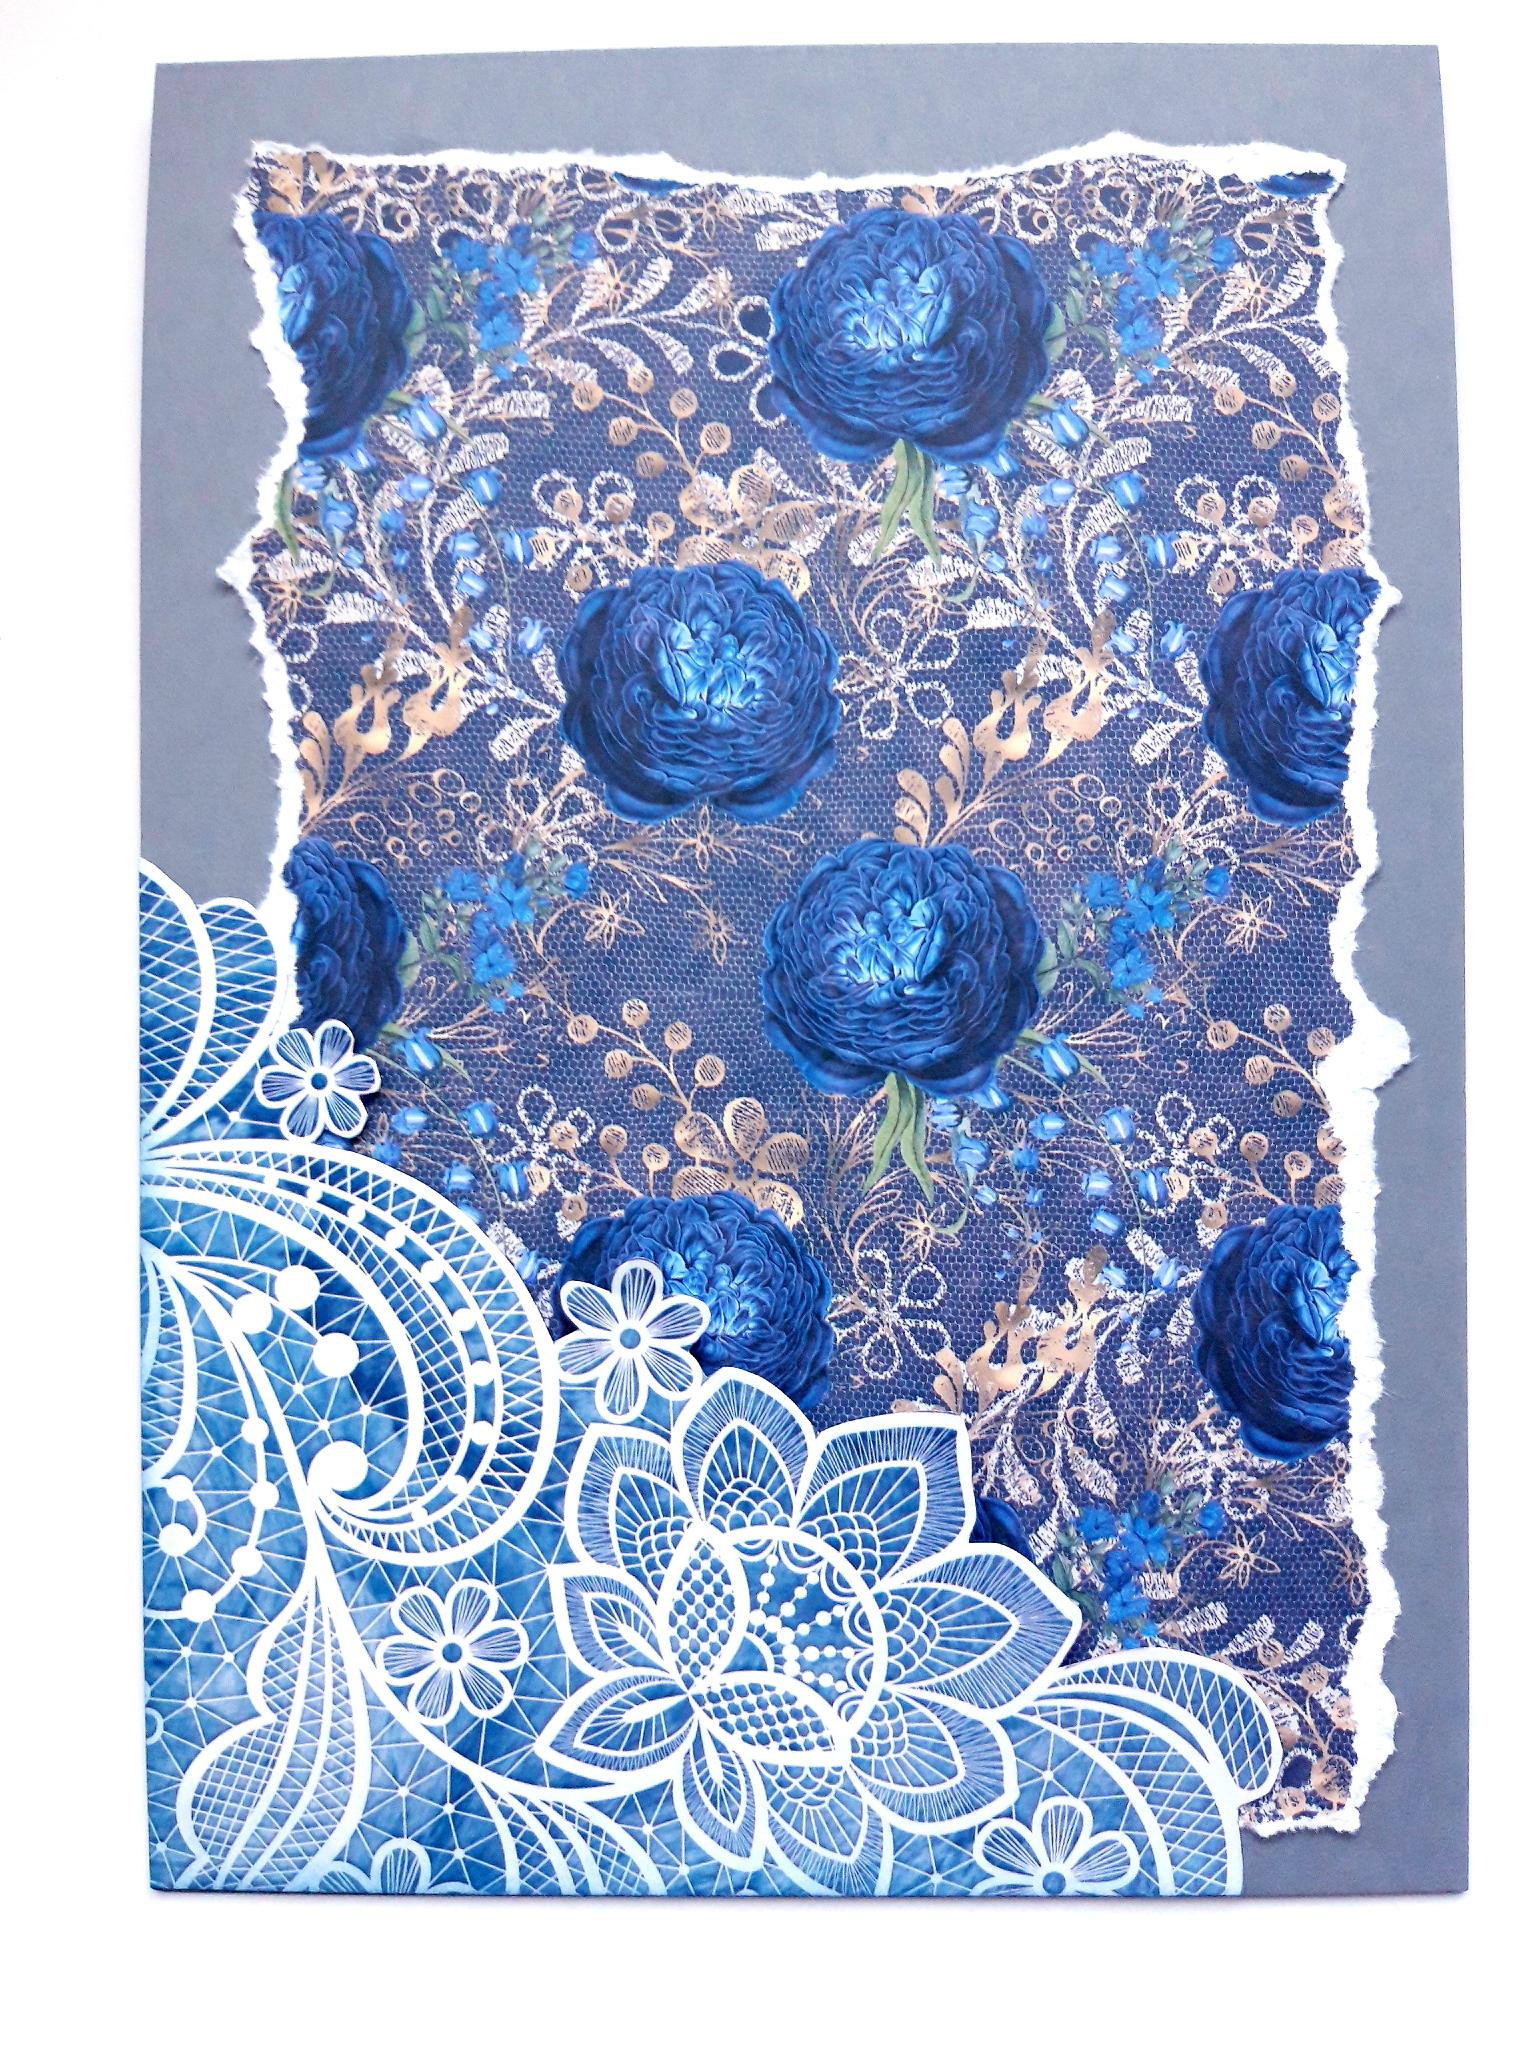
Remove this decorative paper from the 8 x 8" paper pack. Tear around the edges, so it fits on to the front of your grey, top folding, card blank. Adhere in place using wet glue, but leaving the edges loose, so you can scrunch, or lift them, slightly. |
|
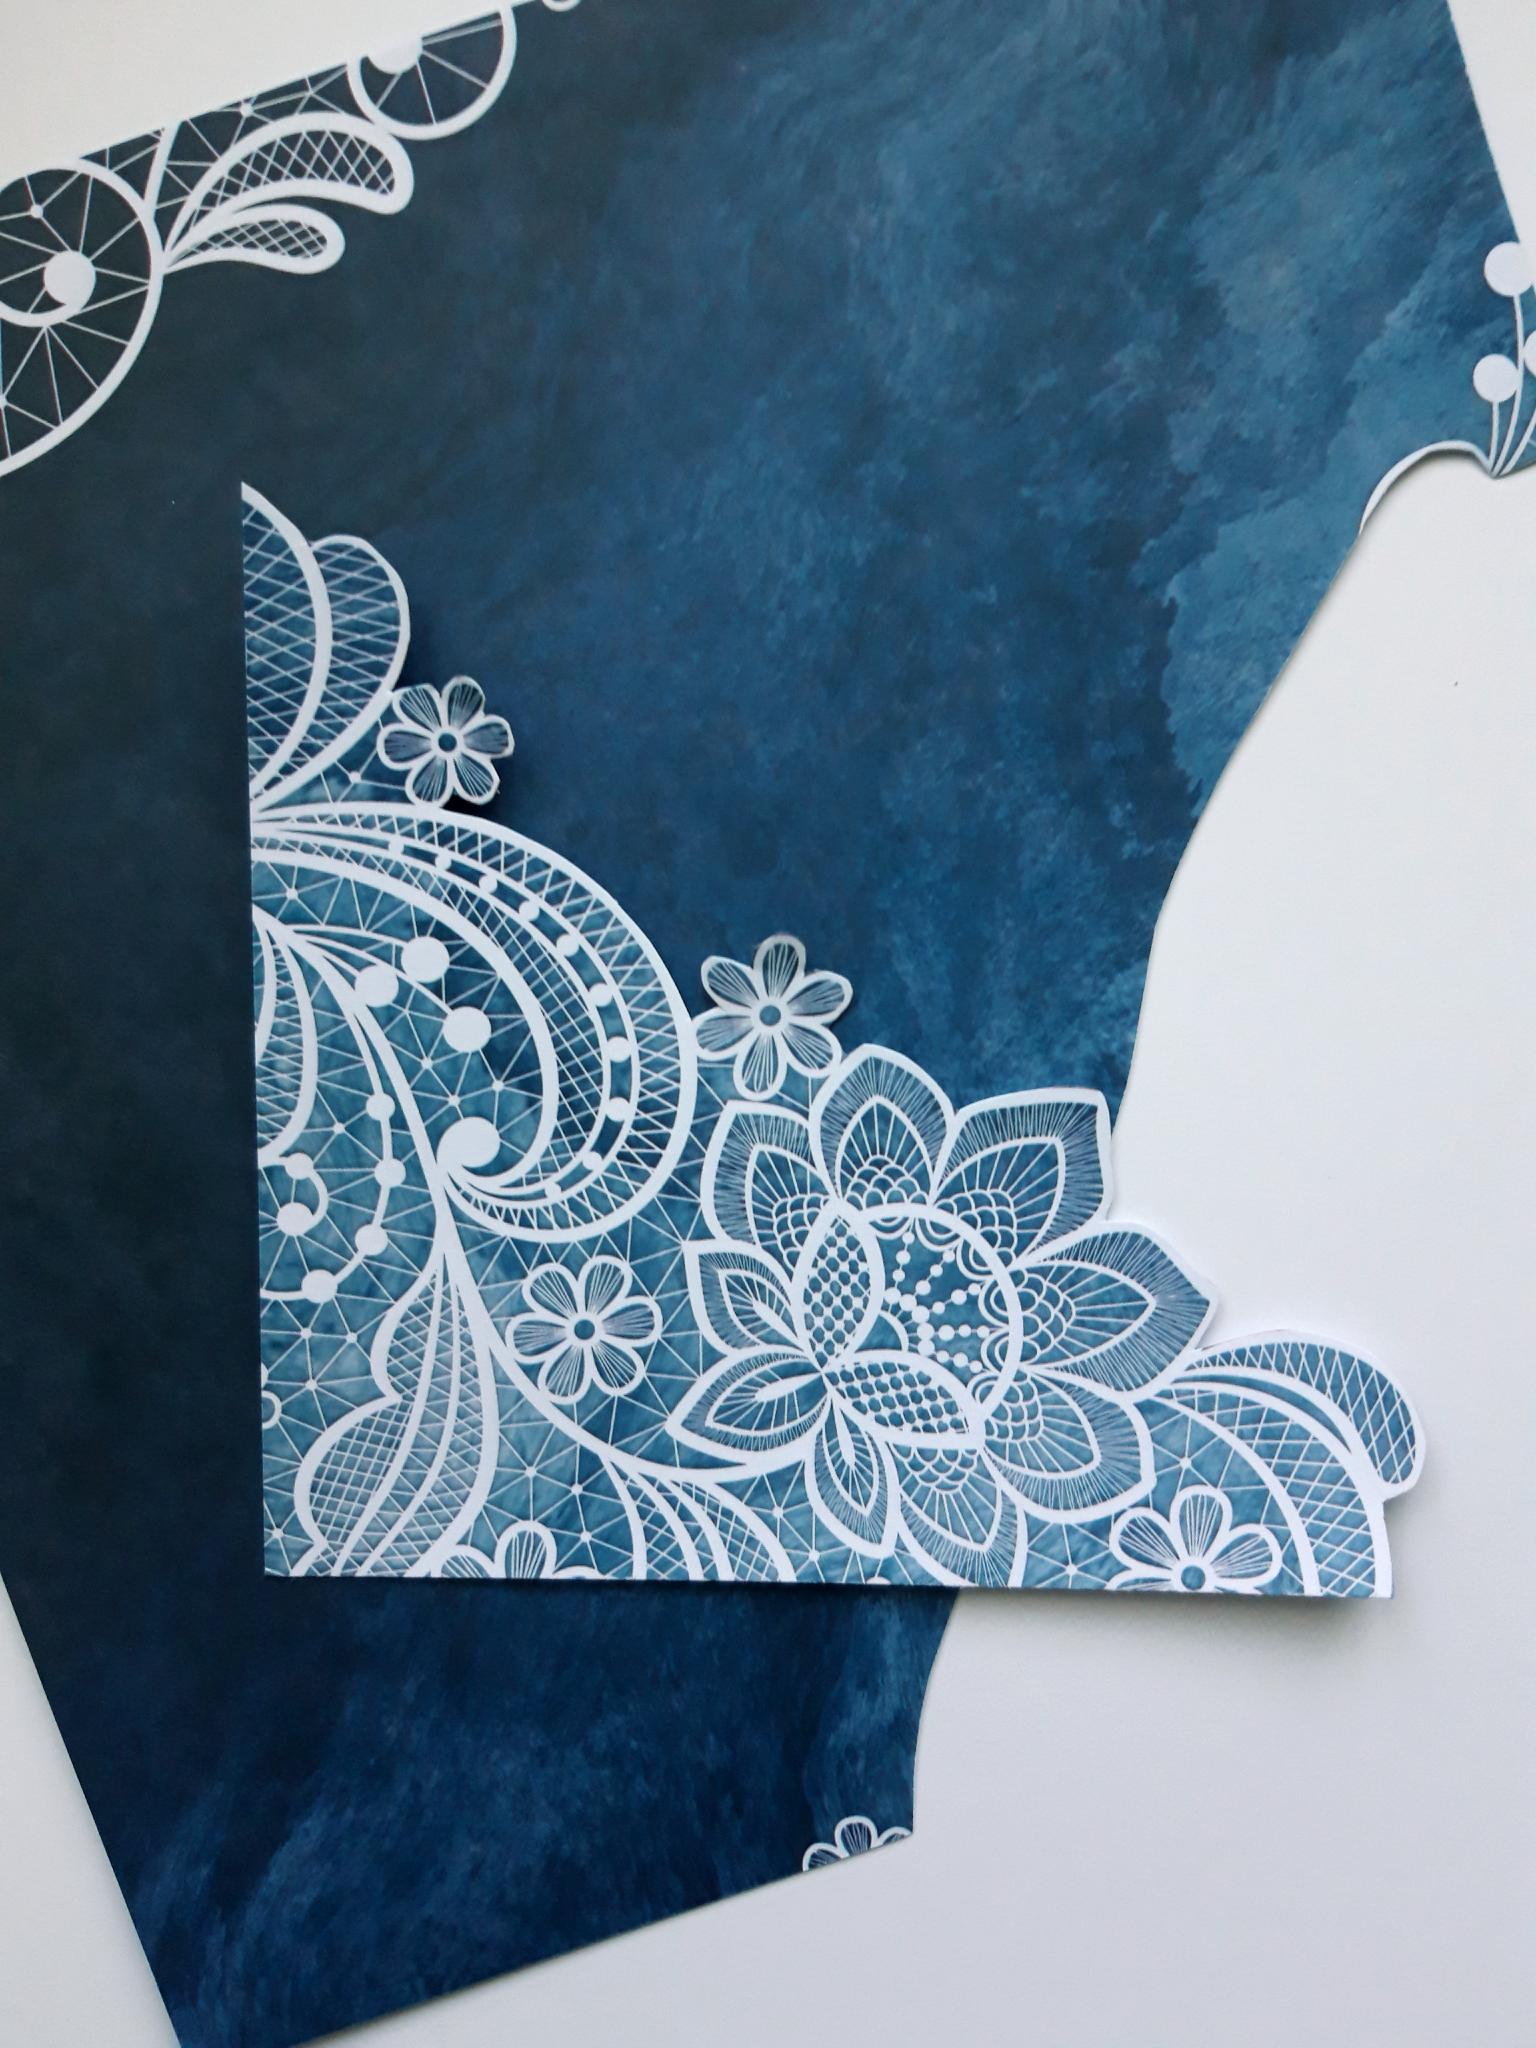
Remove this sheet from the A4 paper pack, and cut out the corner scroll detail, as shown here. |
|
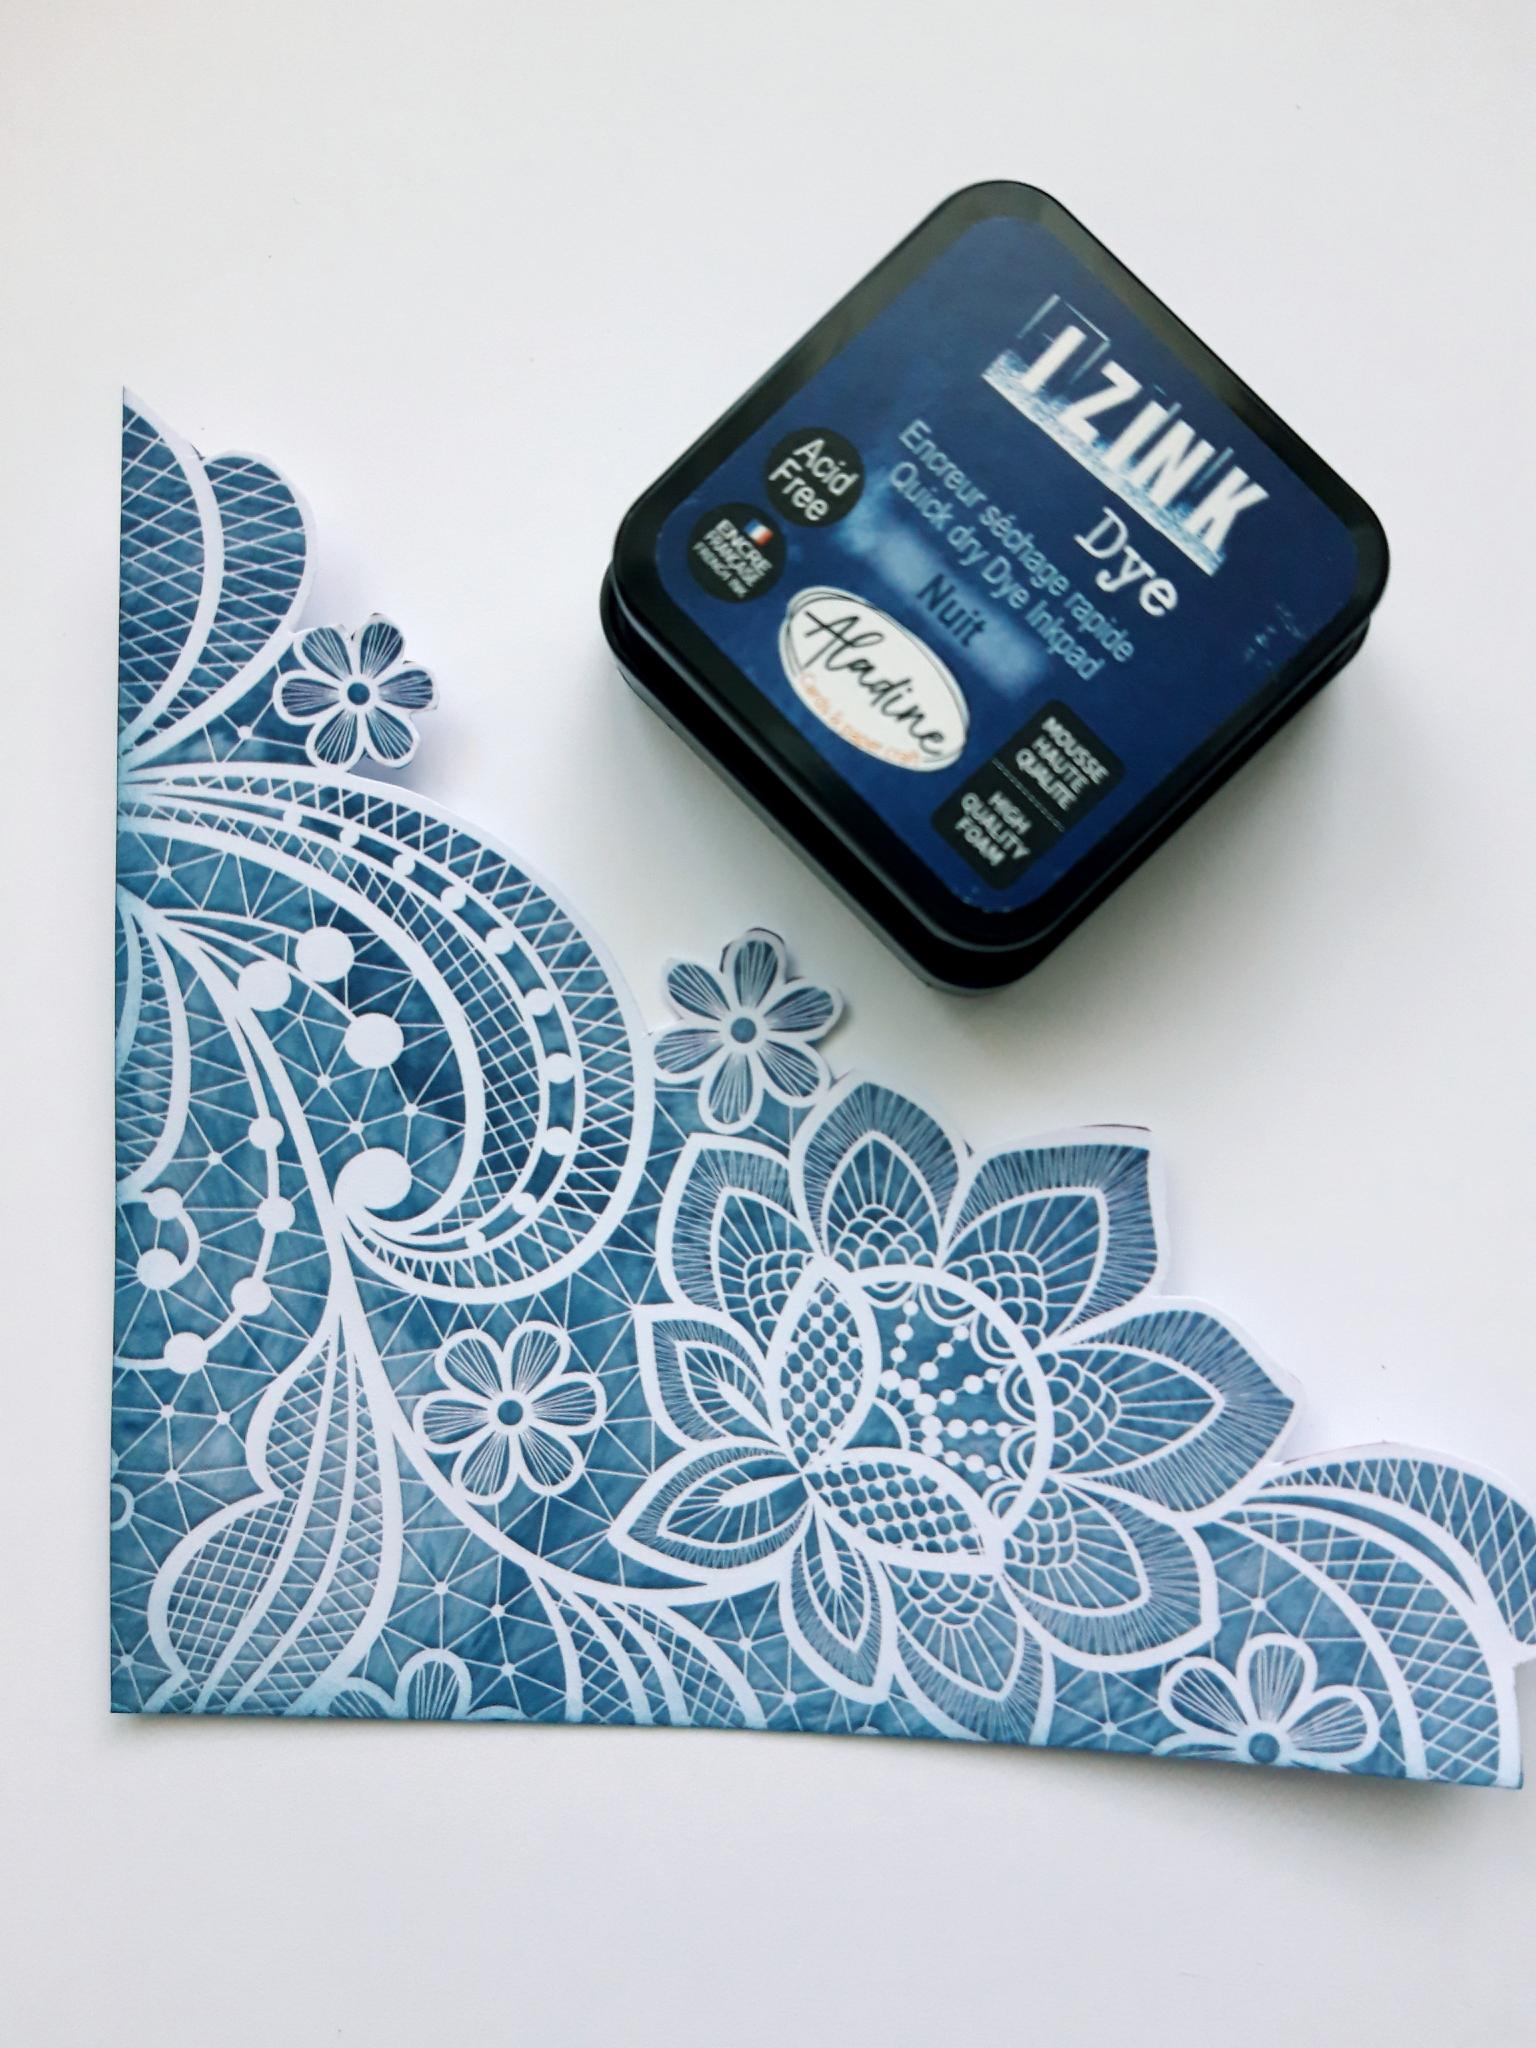
Blend the Izink Nuit along the bottom, and left hand edges, of the cut out element. |
|
Adhere red liner tape along the inked bottom, and left edge, ONLY. Peel of the backing, from the red liner tape, and adhere flush in the bottom left hand corner of your card blank, to form a "pocket".
|
|
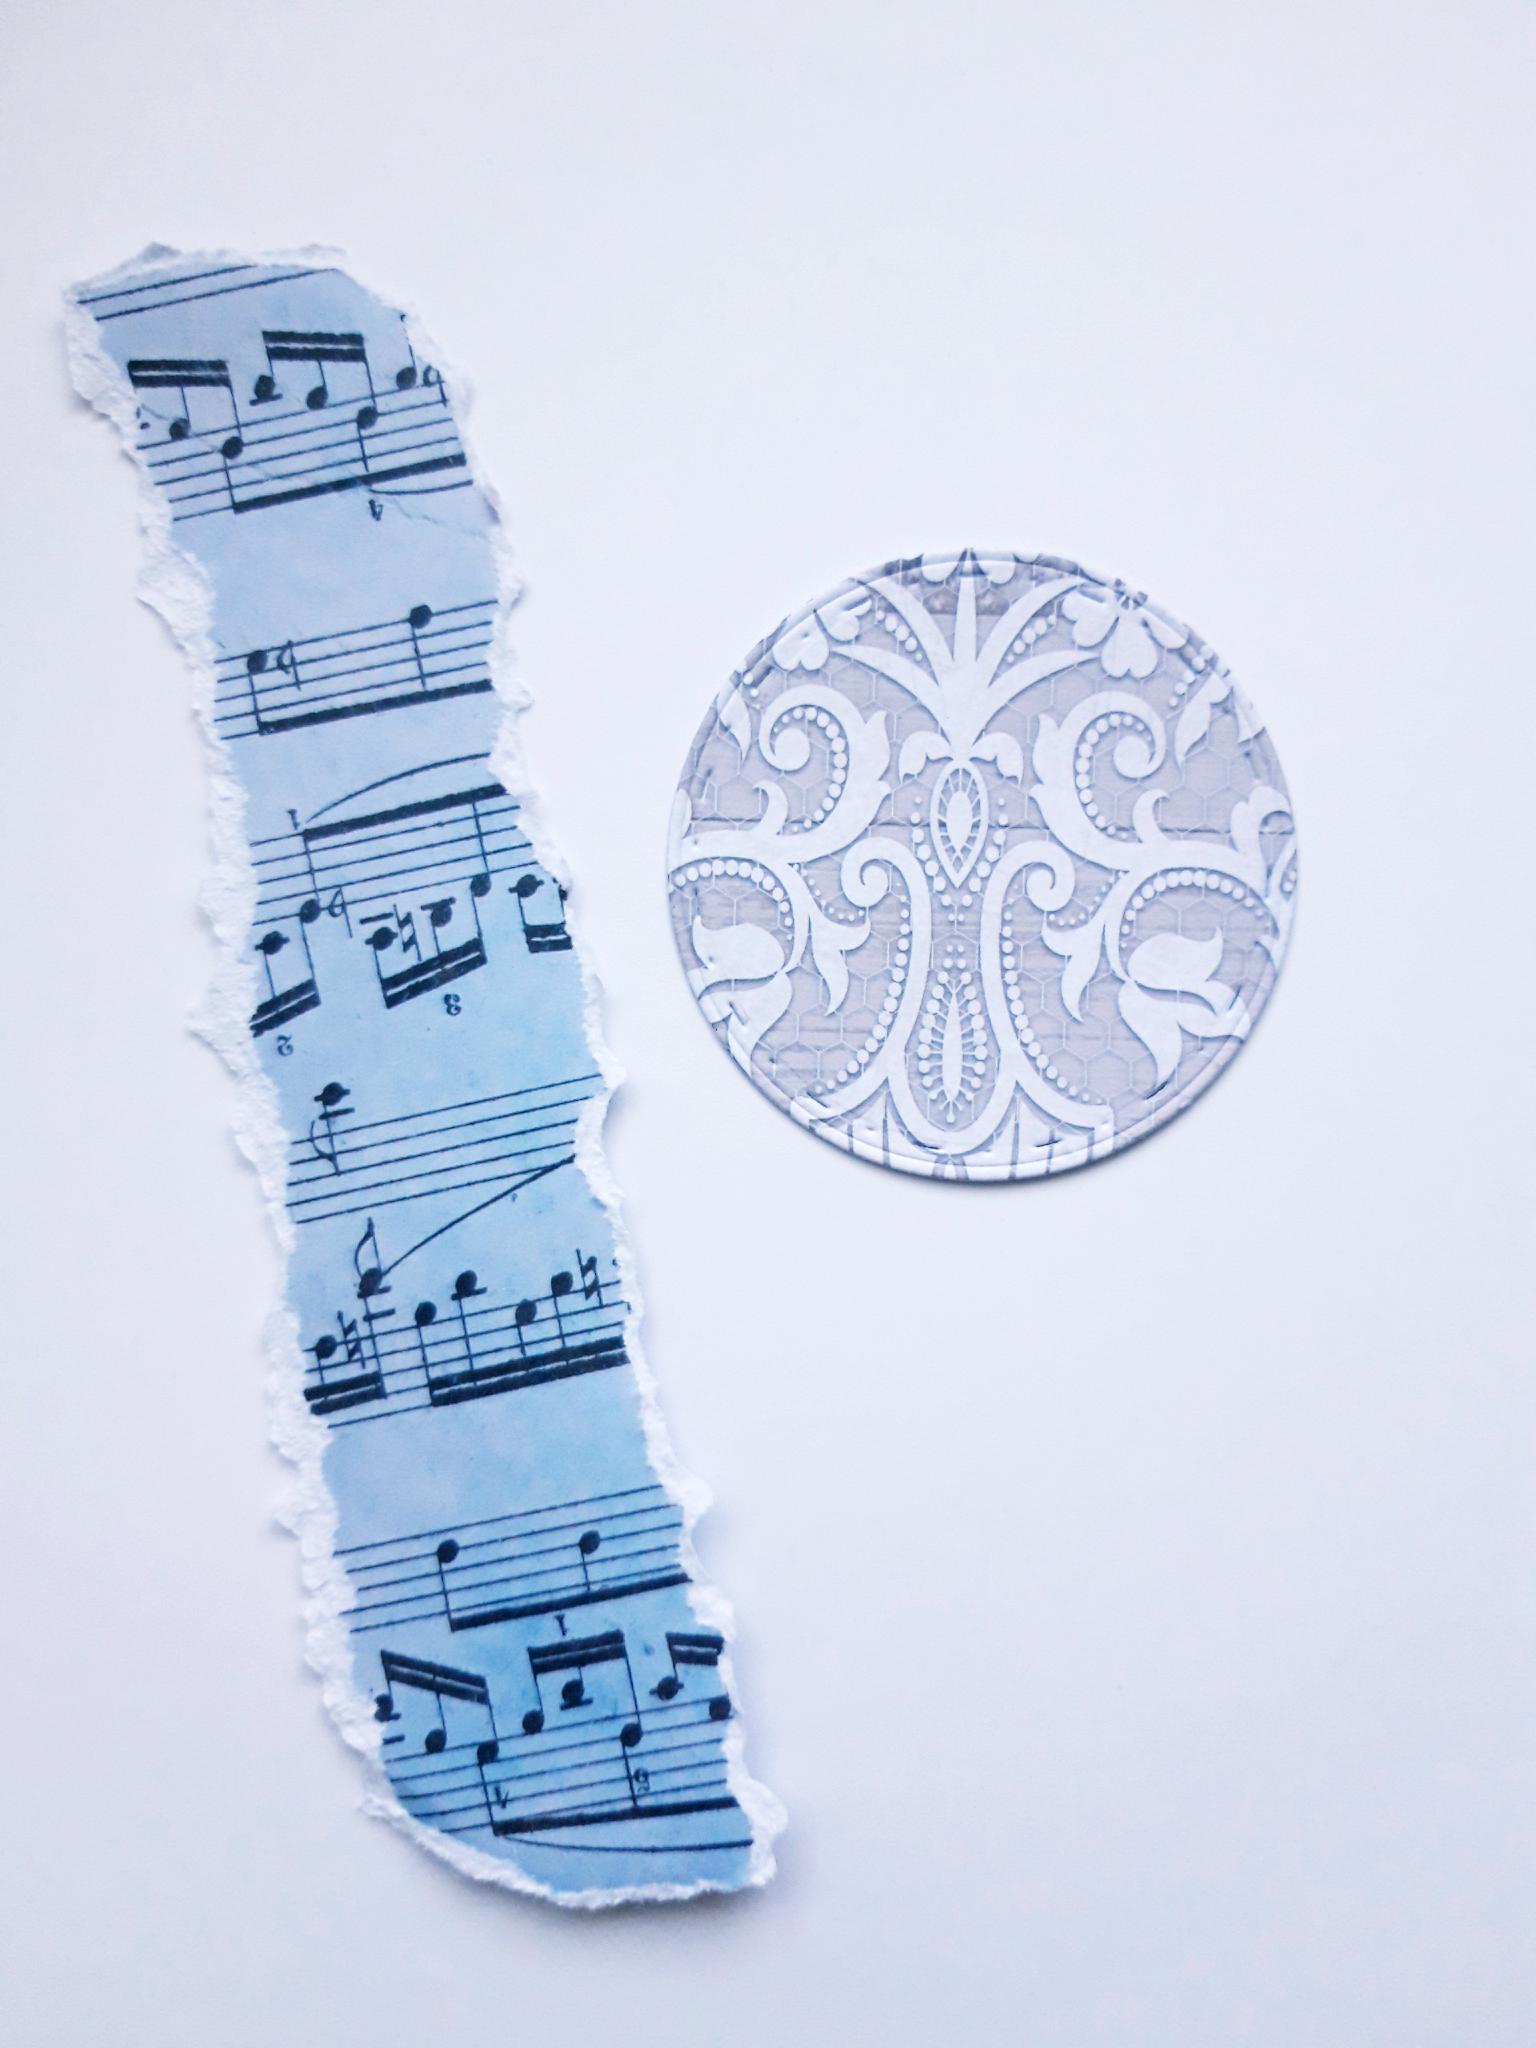
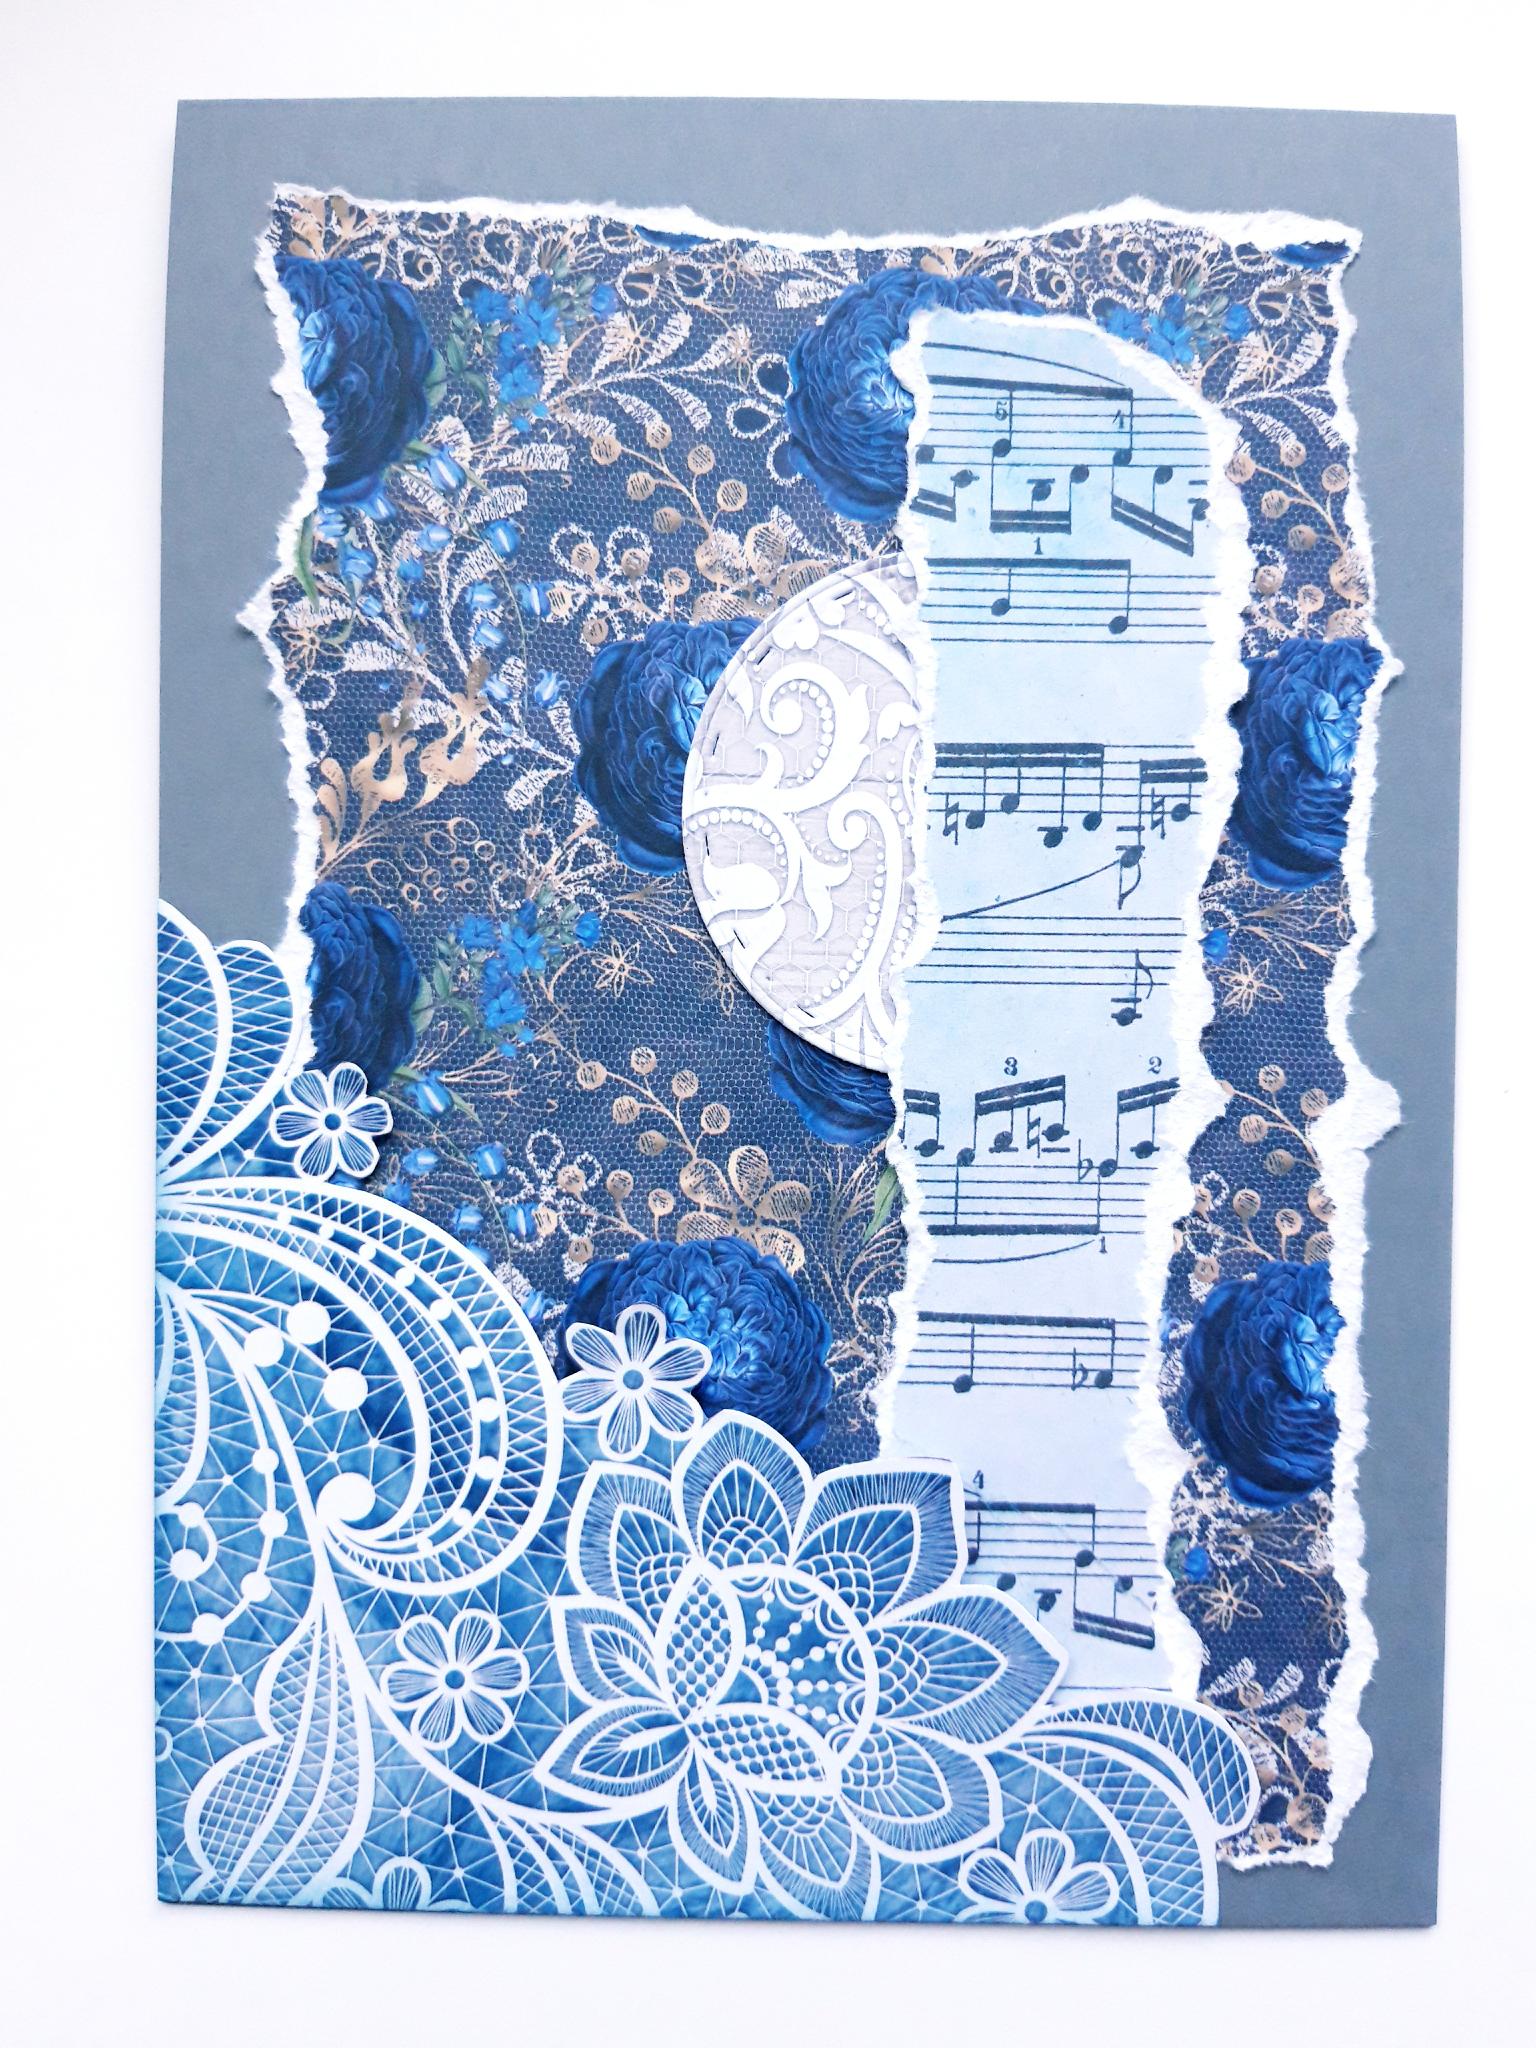
Remove the music notes paper, from the 8 x 8" paper pack, and tear a strip, approx 6 3/4 x 1 1/2" Remove this decorative sheet, from the A4 pack, and cut out a piece approx 3" square. Place the circle die on top, and run it through your die cutting machine. |
|
Adhere the decorative circle, and torn strip, on your card, as shown here. |
|
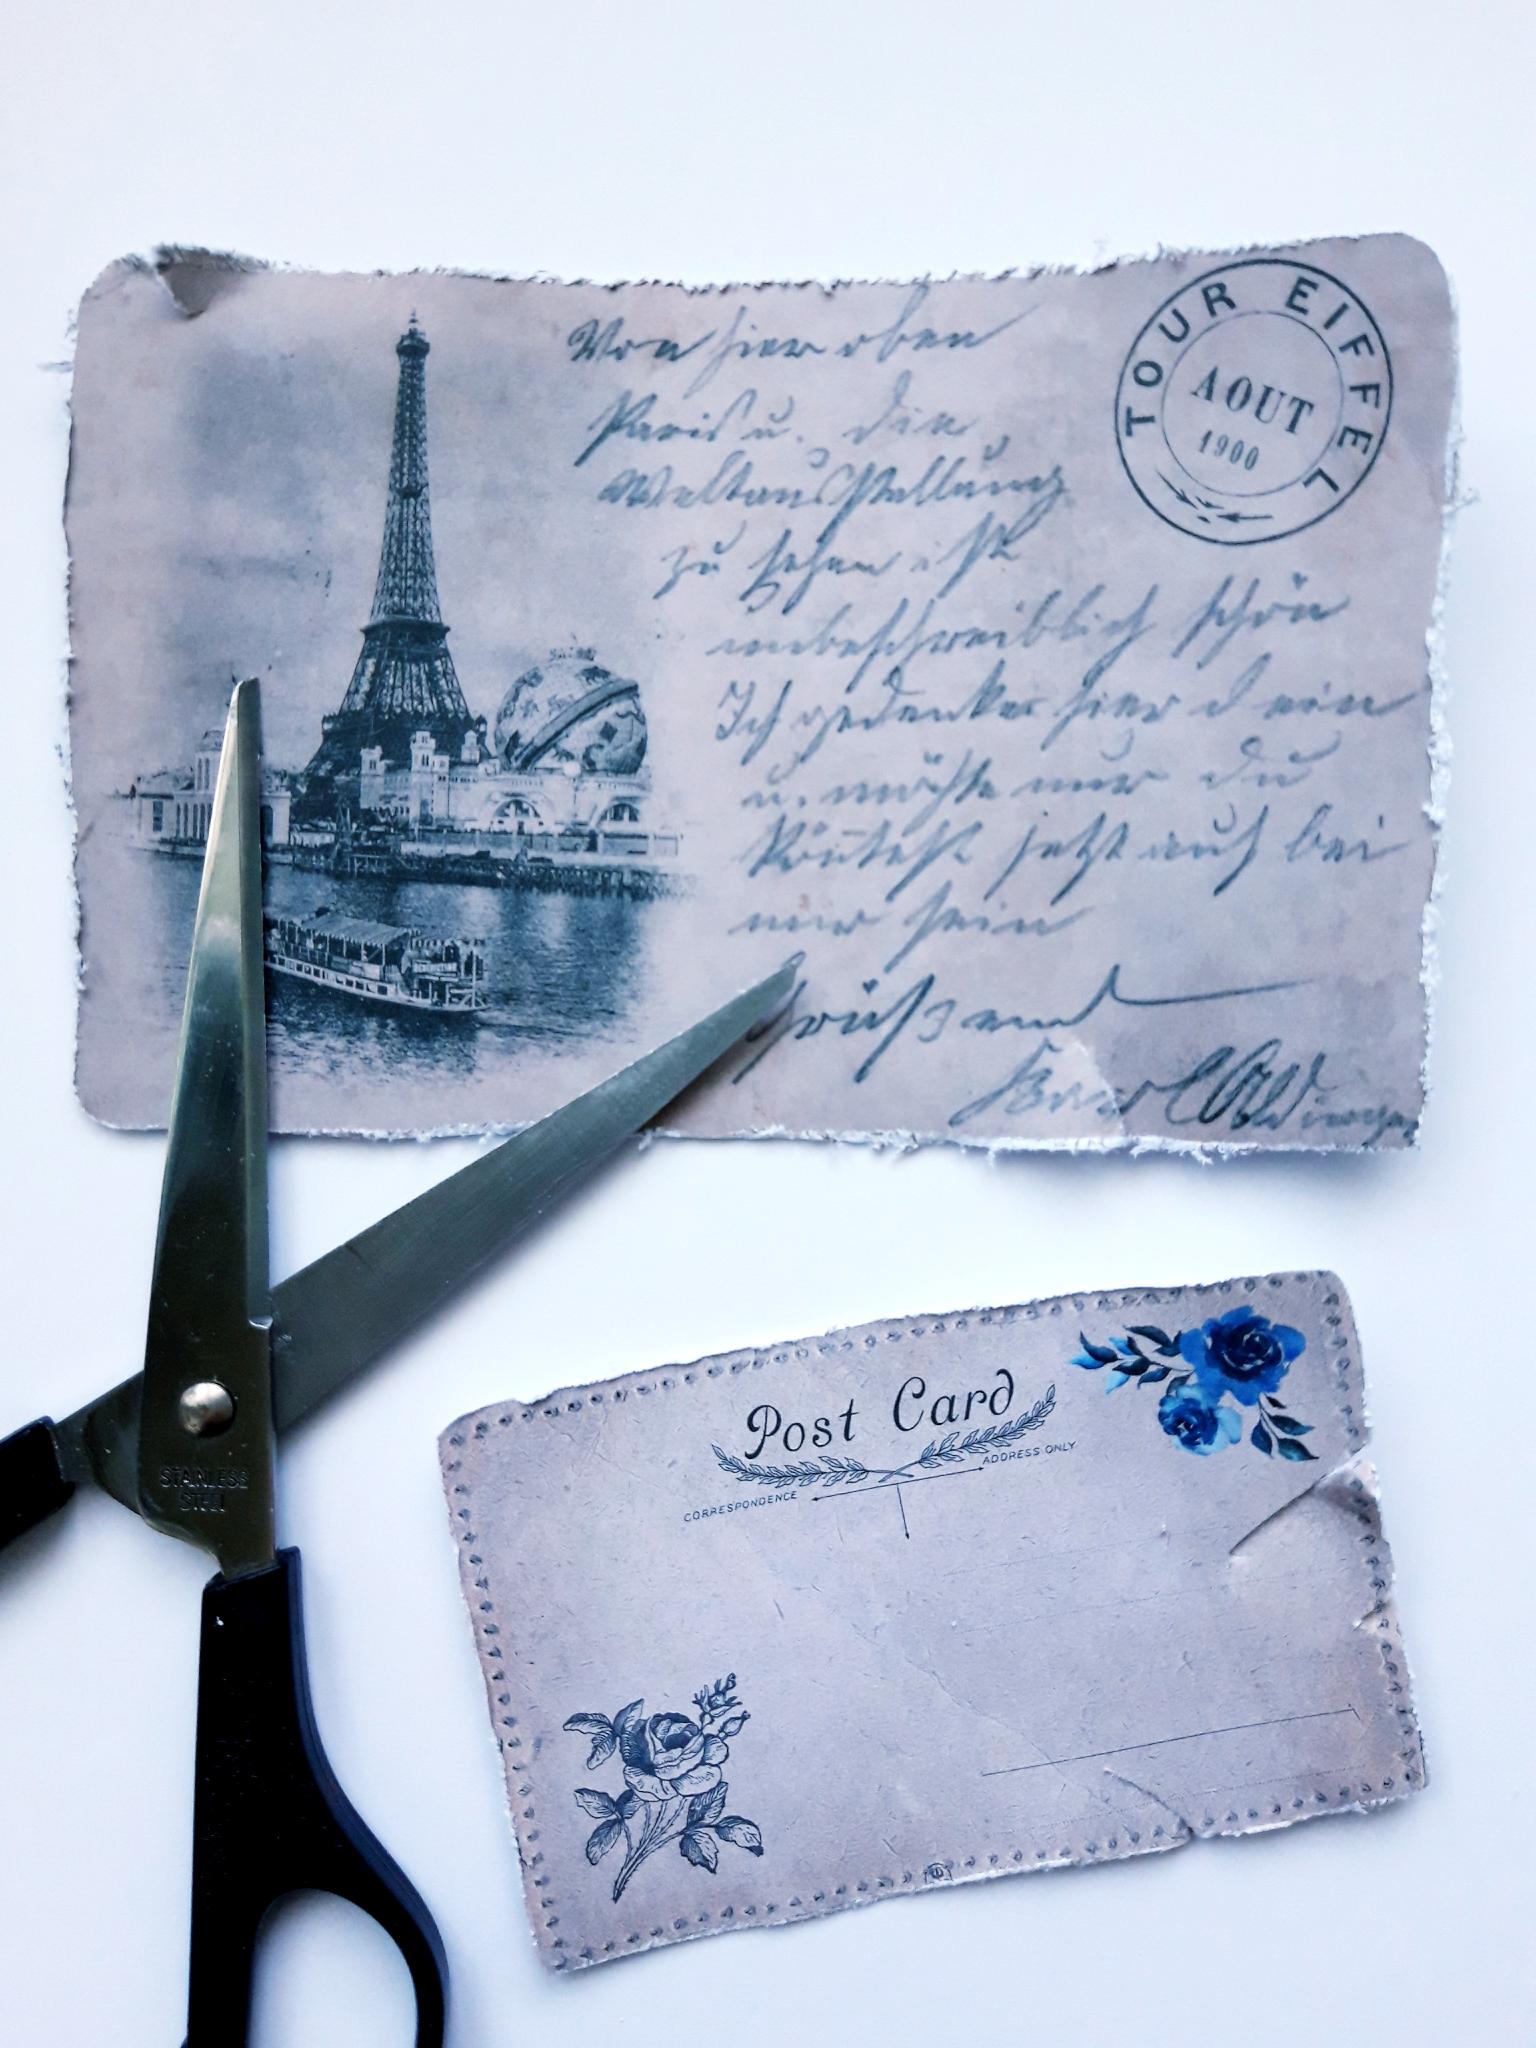
Cut these postcards out, from the 6 x 6" paper pack. Scuff up the edges, using your scissors. |
|
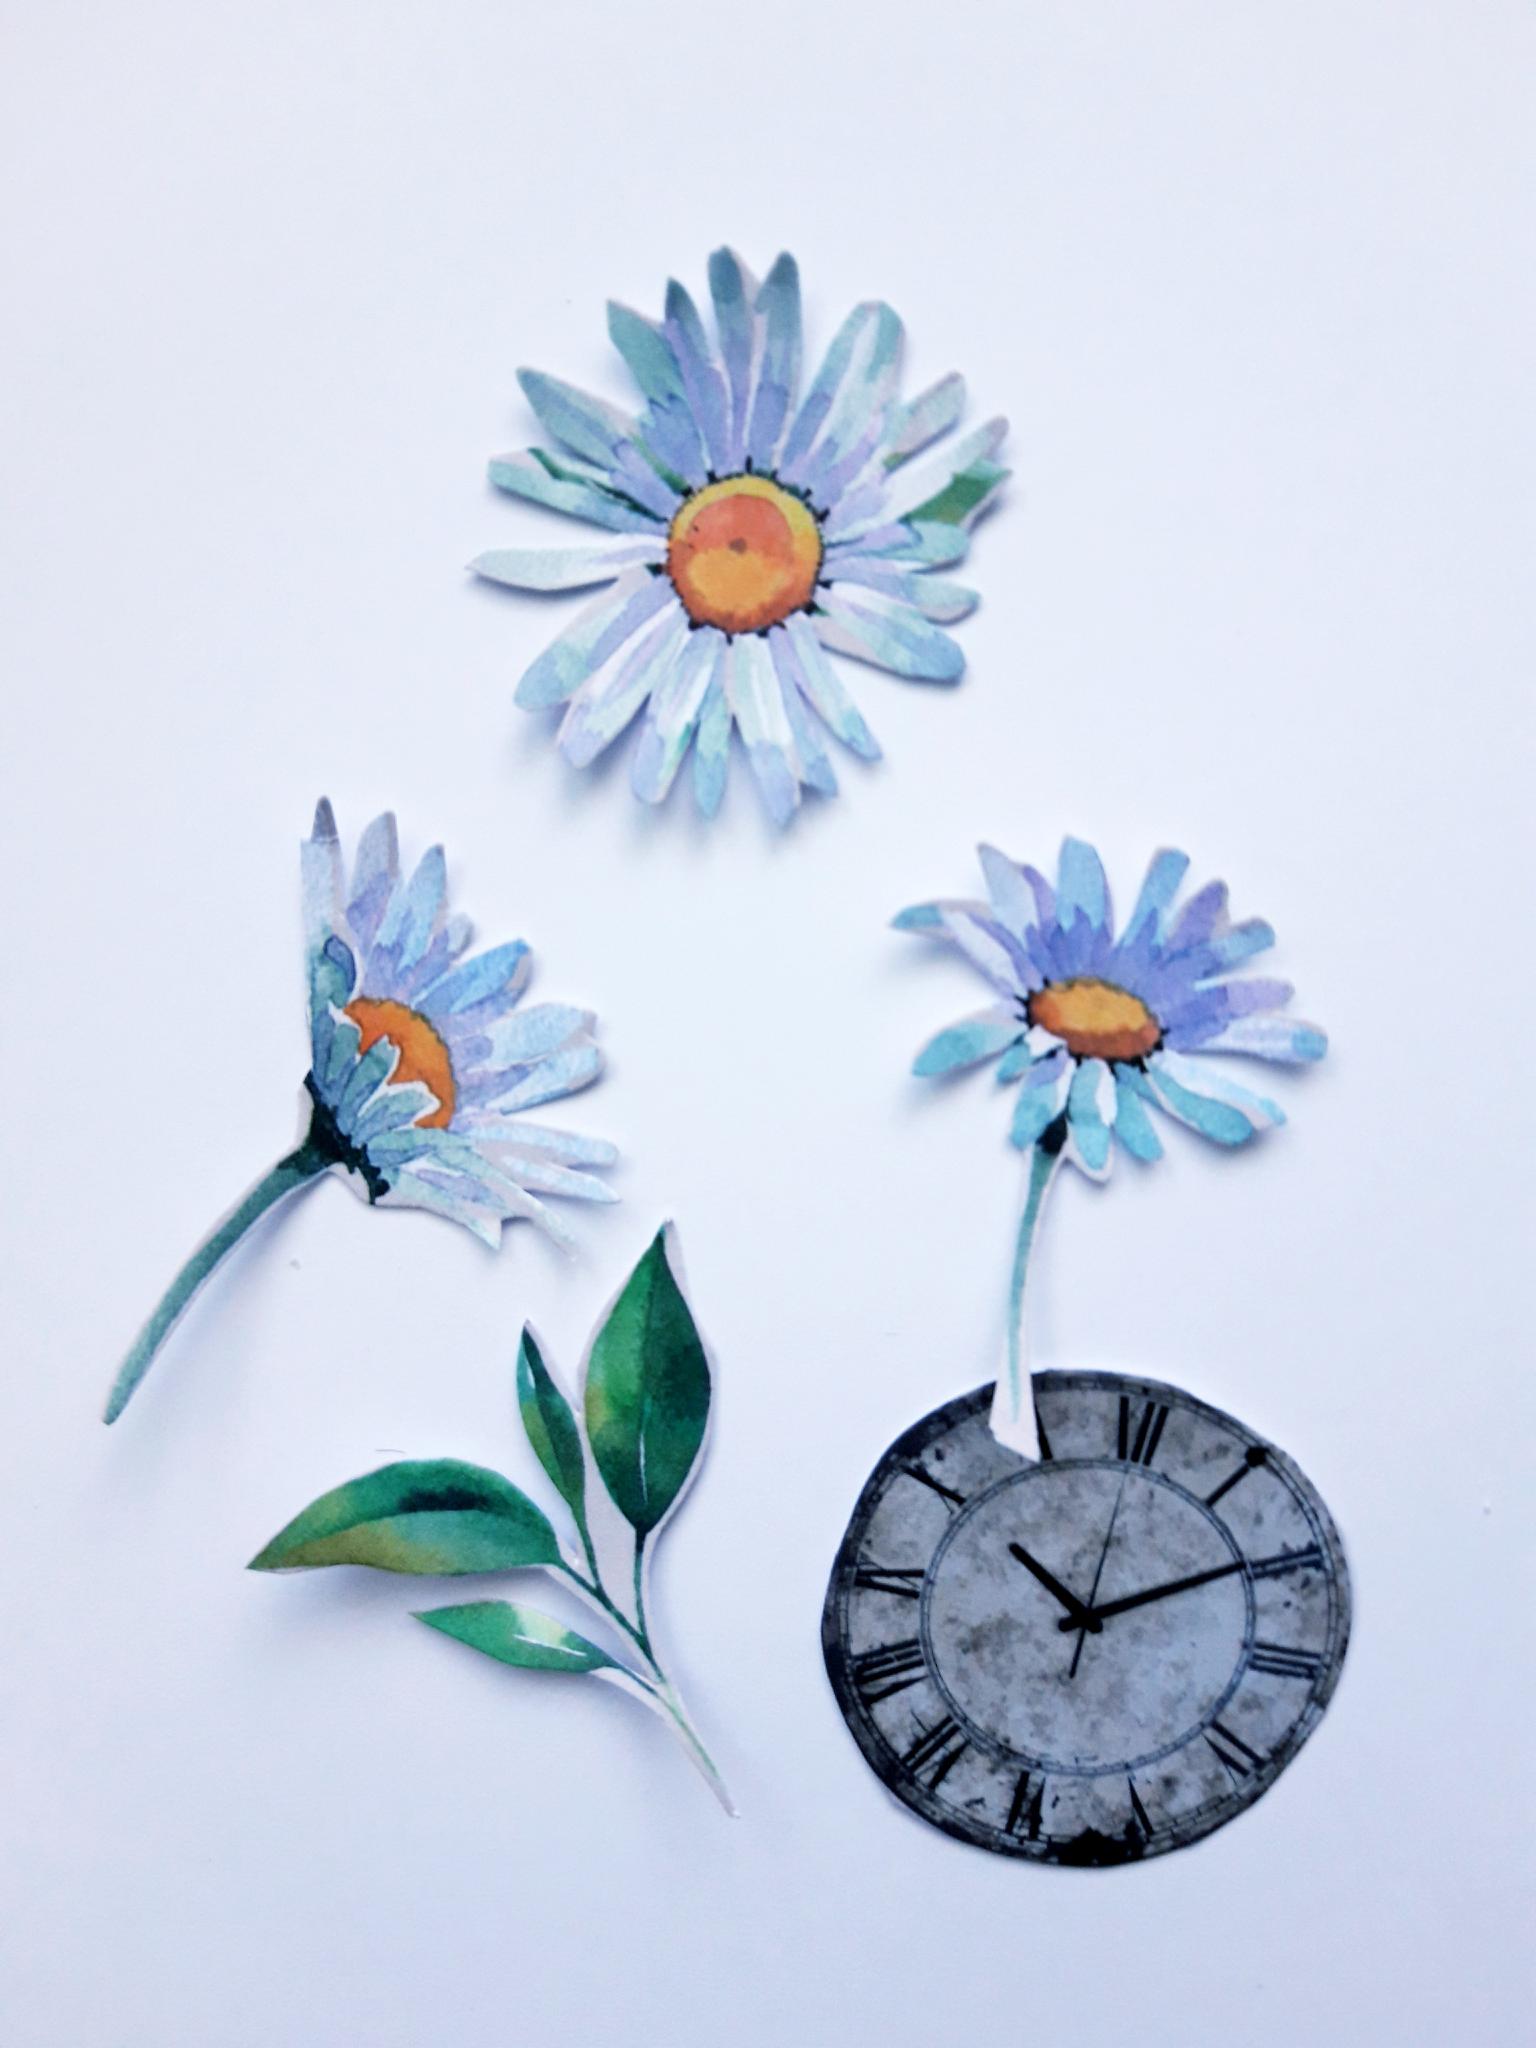
Cut out these elements from the 4 x 4" paper pack. |
|
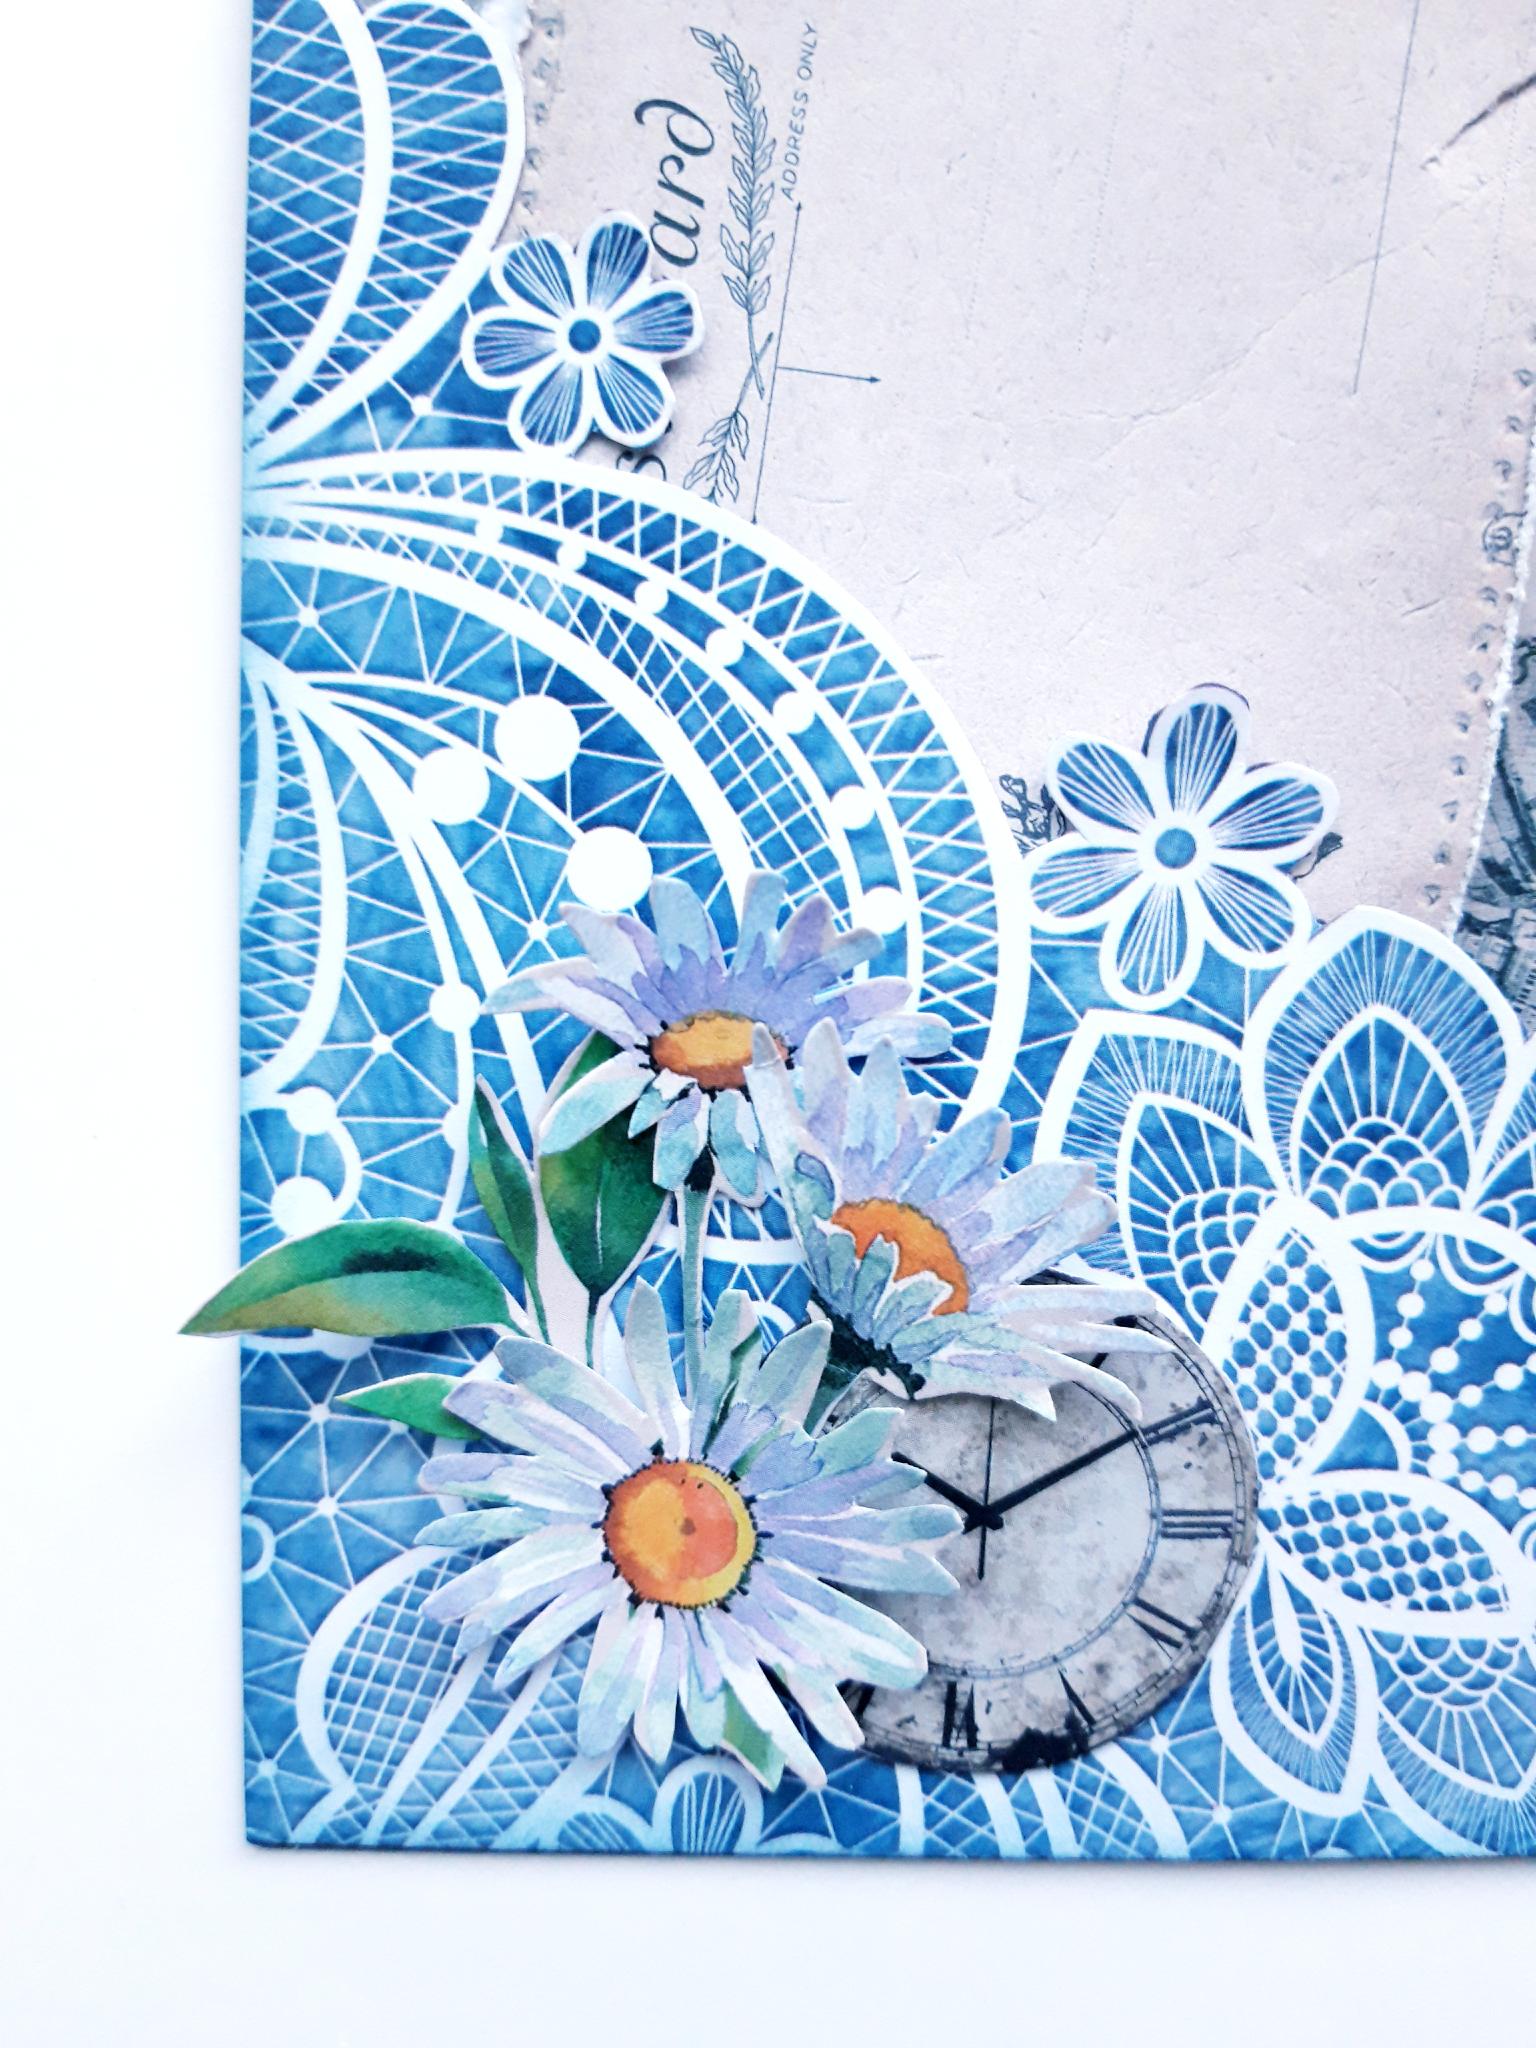
Adhere the cut out elements in place, as required, on the bottom left corner of your "pocket". |
|
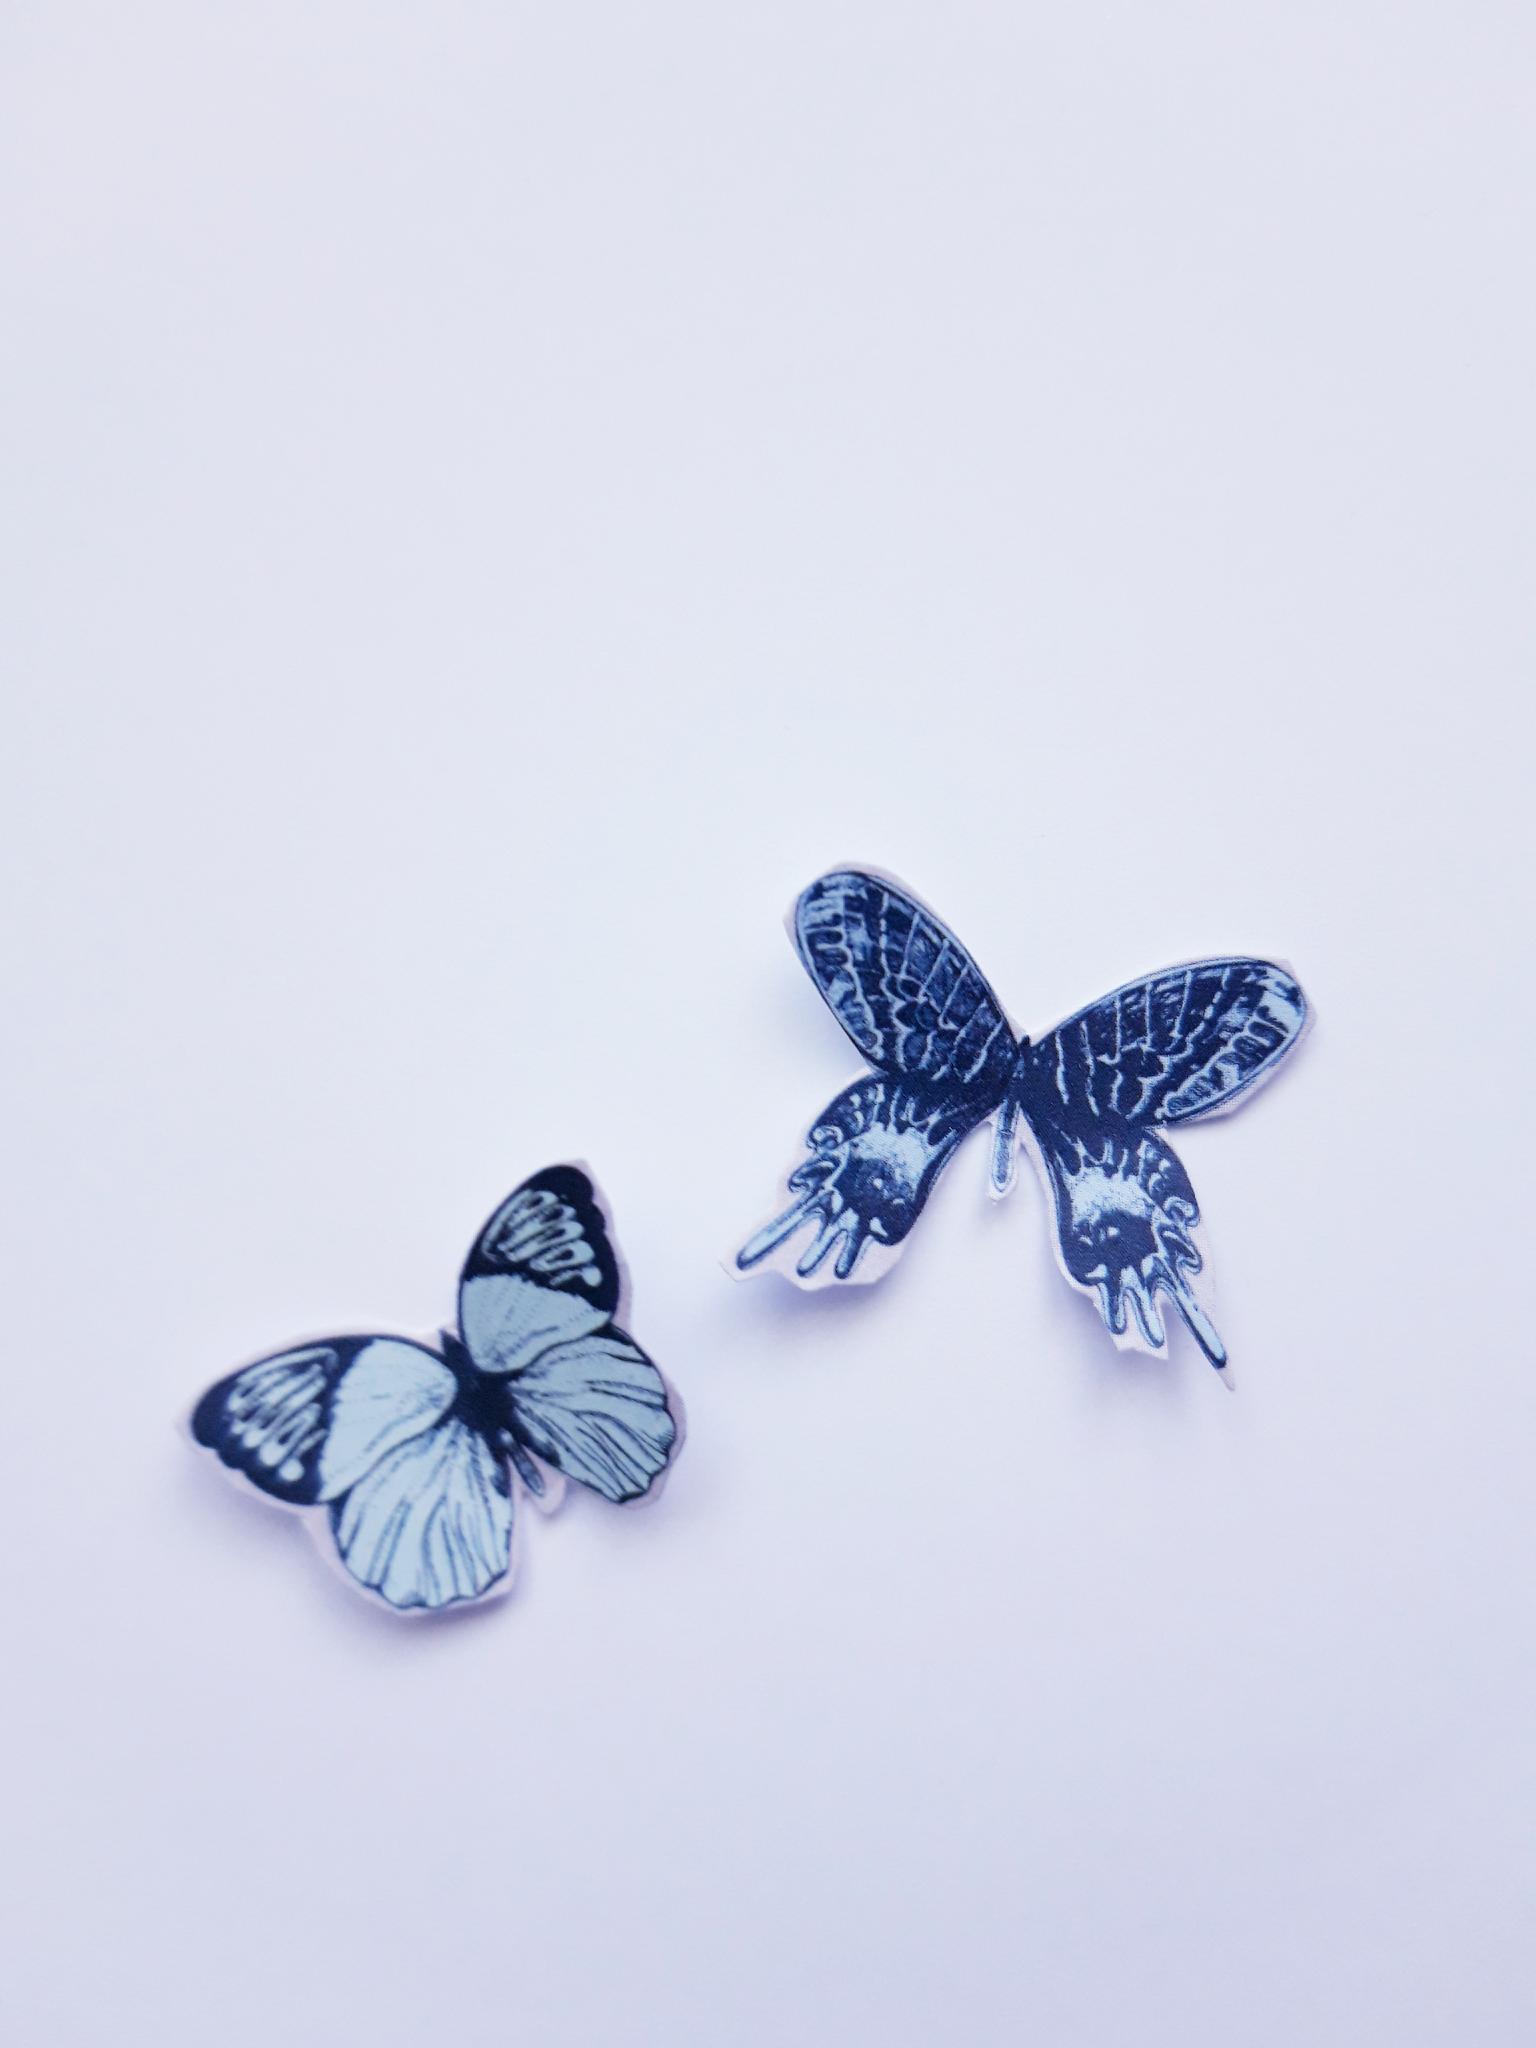
Cut out a couple of the butterflies, from the 4 x 4" paper pack. |
|
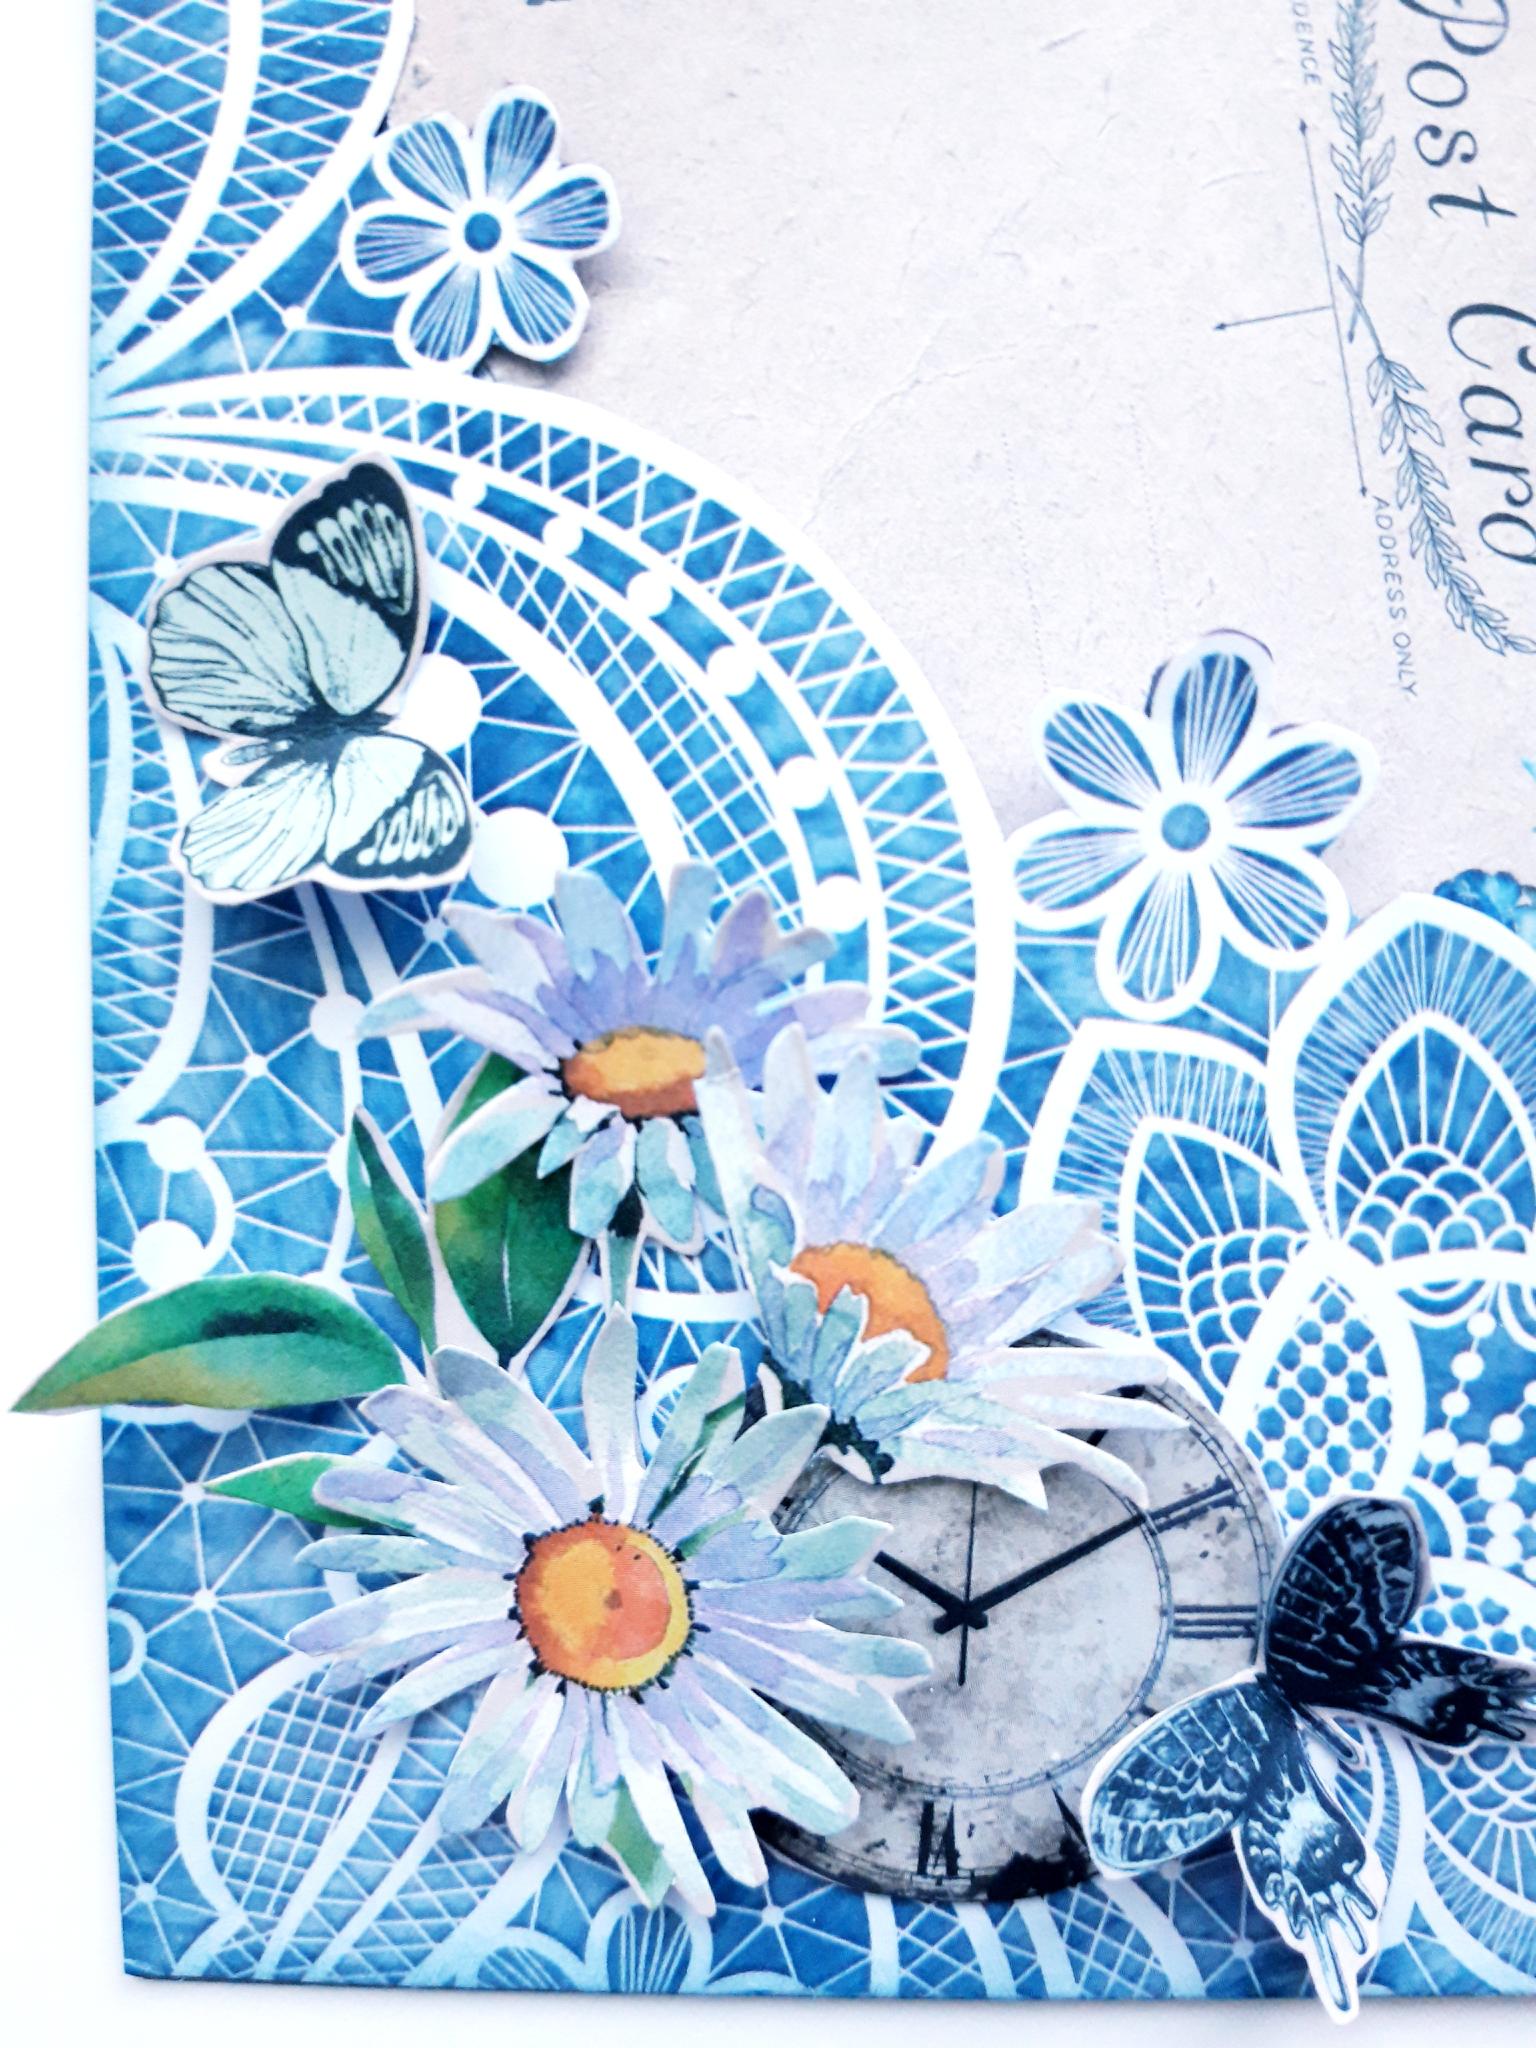
Adhere your butterflies where required, on your floral display. |
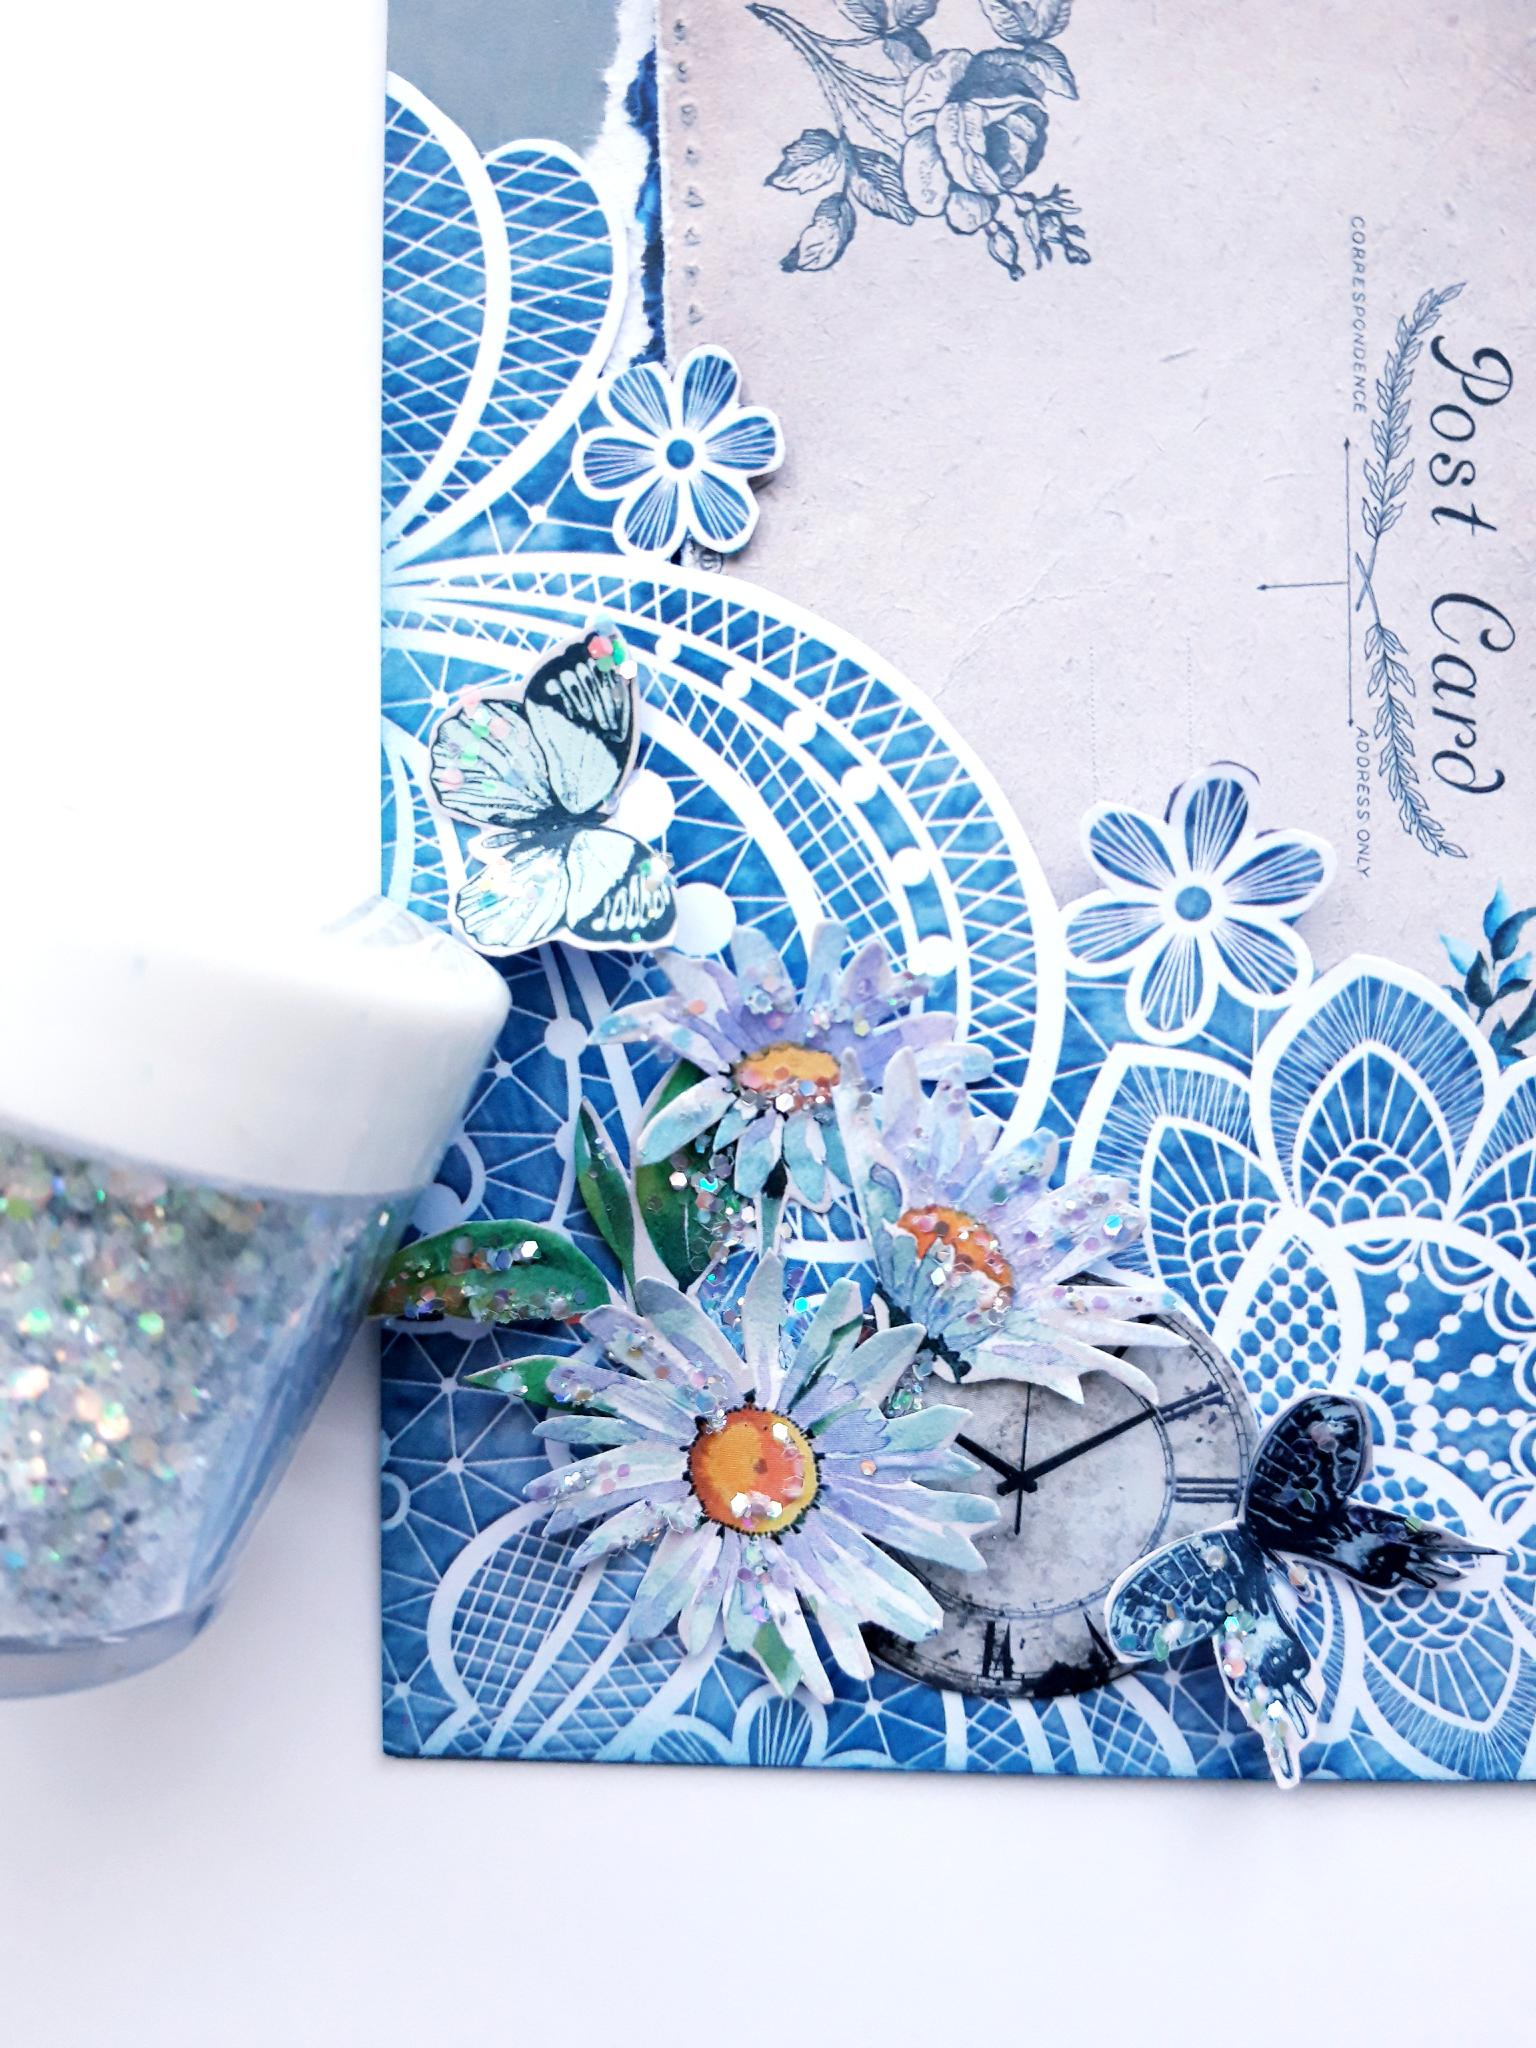
|
Add Midas Glitter to the floral, foliage and butterfly elements. |
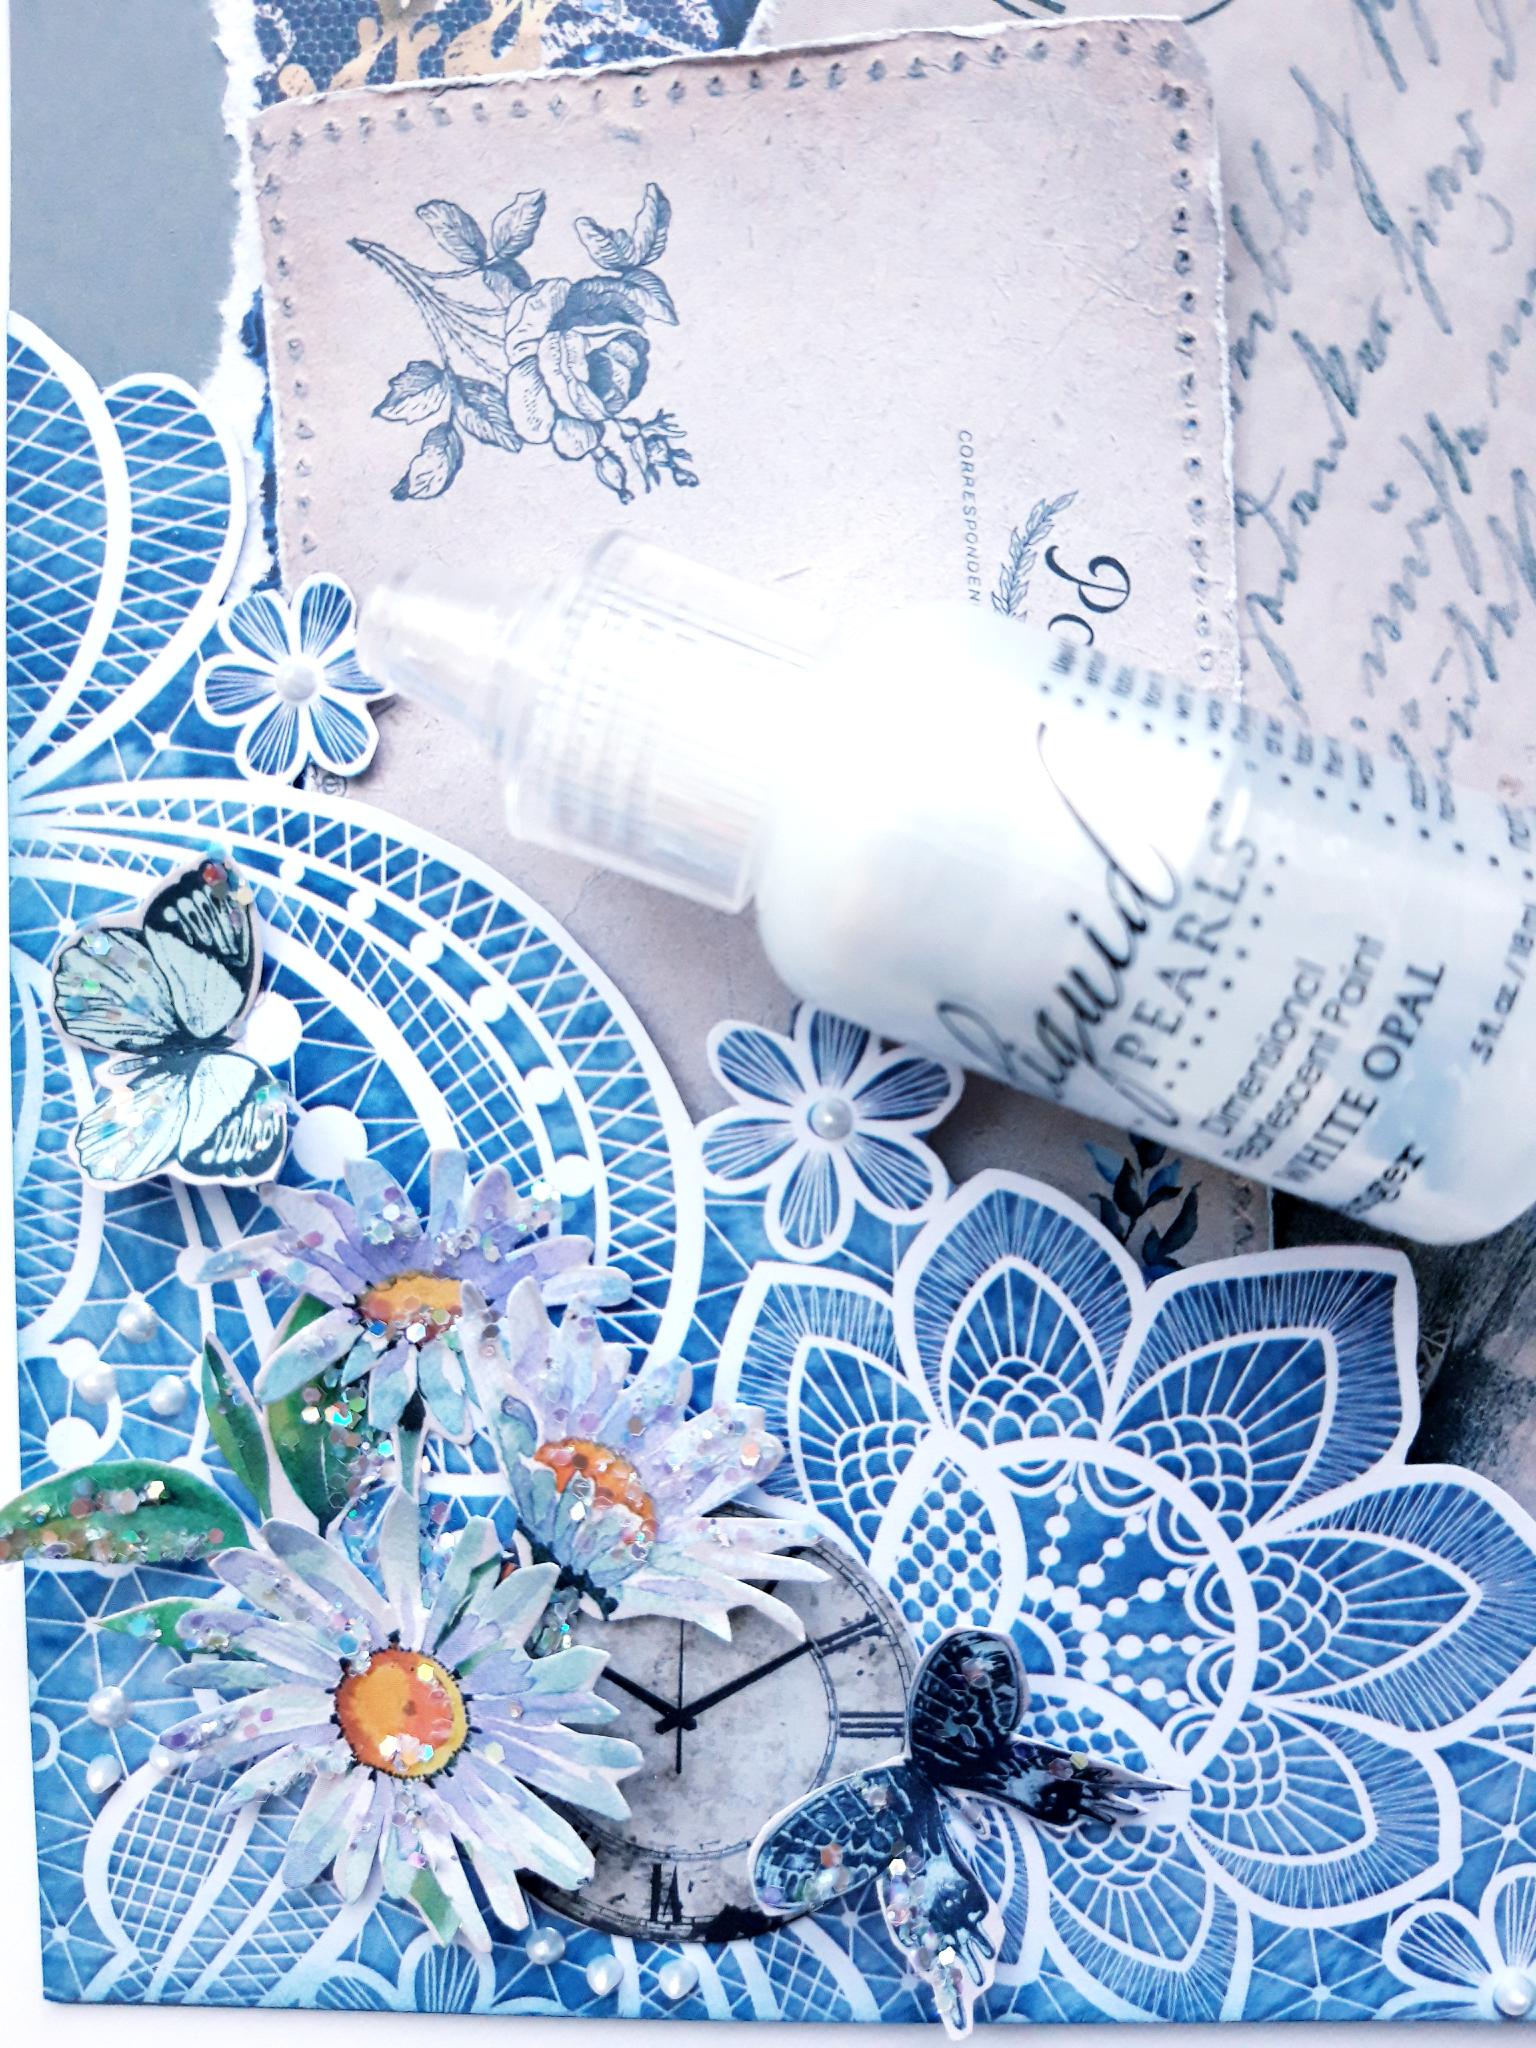
|
Pop the postcards inside your "pocket", and to finish, add liquid pearl drops where required. |